If you think yoga is just for women, you are wrong! You’re already doing it! Those planks you add to every core session? Yoga. That stretch before your pickup game? Yoga. The deep breaths you take to centre yourself when you’re stressed? Yoga.
Yoga can be extremely beneficial for everyone — but especially for men. How? Men often suffer from tightness particularly in the hips, hamstrings, and shoulders that can lead to injury or weakness.
Over-training in any one sport can cause repetitive stress and other more serious injuries. Yoga is a full-body workout that creates both strength and flexibility. You need to have both. One without the other is a recipe for disaster.
Practice these 10 poses in this order, which can benefit men because they stretch out guys’ tightest spots (like the shoulders, hips, and groin) and strengthen muscles that get no love during workouts (like the low back and knees).
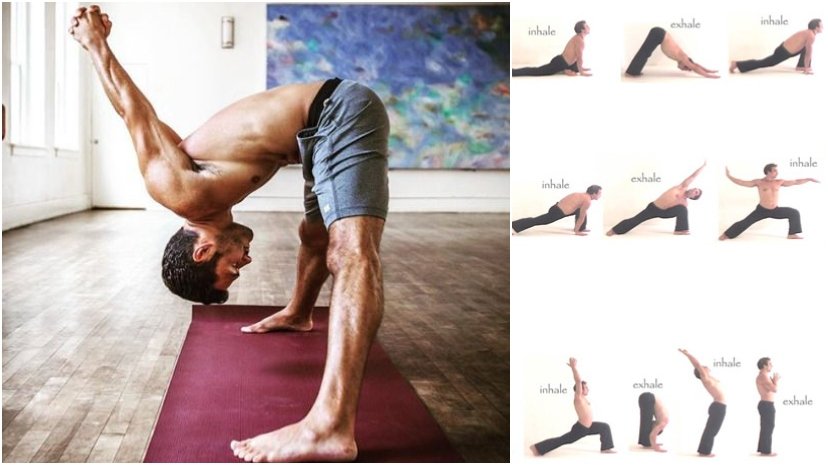
Forward Fold:
Why it’s good: We often have a hard time knowing when we are holding excess tension in our head, neck and shoulders, and that buildup of tension can create headaches, insomnia, poor circulation and decreased lung capacity. If you practice slow, steady breathing along with this pose, it can lower your blood pressure over time.
Stretches: hamstrings, calves, and hips; strengthens legs and knees.

How to:
- Stand with feet hip-width apart, gently hinge forward at the hips and lower the torso toward the floor.
- Bend your knees generously to take any pressure out of the low back and hamstrings.
- Grab your ankles or grasp opposite elbows with opposite hands.
- Breathe deeply and let gravity take the body toward the earth.
- Relax your head, neck, shoulders and torso.
- Slowly sway your torso or gently shake your head.
- Hold for one minute and roll back up to standing.
Downward-Facing Dog:
Stretches: feet, shoulders, hamstrings, and calves; strengthens arms, legs, and core.
Why it’s good: We often experience back pain due to chronic tightness in the hamstrings and hips. It’s also common for us to have very tight shoulders. Down Dog releases those areas, while building upper body strength. If you can do only one pose a day, start with Downward Dog.

How to:
- Start on your hands and knees with your feet and knees hip-width apart.
- Position your hands about shoulder-width apart, and spread your fingers wide.
- Pressing firmly through your hands, lift your knees off the floor and straighten your legs. (If you have tight hamstrings, a gentle bend in the knees is fine).
- Walk your hands forward a few inches, and walk your feet back a few inches to lengthen the pose.
- Squeeze your thighs as you press them toward the back wall.
- Press your heels back and down toward the floor (though they might not reach the floor).
- Relax your head and neck and let your shoulder blades slide down your back toward your feet.
- Set your gaze between your feet.
- Suck your stomach in and engage your core muscles.
- Breathe deeply.
- Hold for three minutes, rest, and repeat one more time.
Chair:
Stretches: shoulders and chest; strengthens thighs, calves, spine, and ankles.
Why it’s good: Chair pose torches abdominal fat while strengthening the thighs and legs.

How to:
- Stand up tall with your big toes touching.
- Inhale and raise your arms straight up to the ceiling alongside your head and neck with palms facing each other.
- Drop your shoulders down your back as you lengthen up through the neck.
- As you exhale, bend your knees, sit down and back as if you were sitting in a chair (like doing a squat with your feet together).
- Do not let your knees extend past your toes.
- With each inhale lengthen the spine.
- With each exhale sit a little deeper in the chair.
- Eventually your thighs will be parallel to the floor.
- Drop your tailbone down toward the floor to take any stress out of your lower back.
- Keep your core muscles engaged and keep your knees and thighs pressed tightly together.
- Hold for 30 seconds.
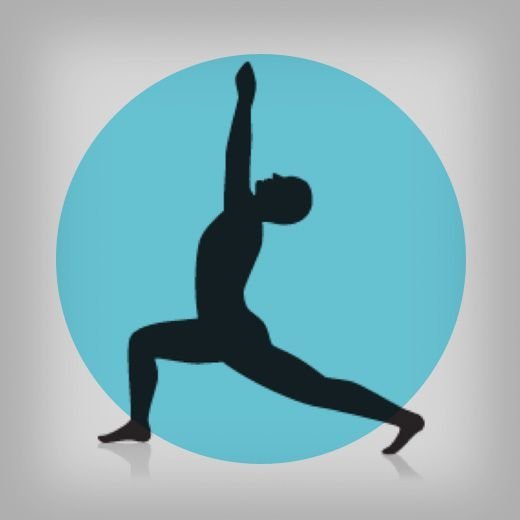
Crescent Lunge:
Loosens: tight hips by stretching the groin; strengthens arms and legs.
Why it’s good: Tight hips can cause lower back pain, knee strain, and injury, which can keep you out of the game, out of the gym, and in pain at your desk. Add Crescent Lunge to your pre-workout routine to open the hips.

How to:
- Start on your hands and knees.
- Step your right foot between your hands into a lunge, keeping your right knee directly above your heel.
- Inhale and slowly lift your back knee off the floor.
- Press your back heel toward the wall behind you as you begin to straighten the back leg.
- Keep your spine long as you hold and breathe.
- Let your hips fall forward as you continue to press the back heel behind you.
- Hold for one minute and then repeat on the second side.
- Do each side twice.
Warrior I:
Stretches: shoulders and hips; strengthens upper and lower body.
Why it’s good: Warrior increases space and mobility in areas where men need it most—shoulders, hips, and knees. It’s another pose that generates great stability in and around the knee, so increases stability for high-impact workouts.

How to:
- Come into Crescent Lunge with your right foot forward in the lunge.
- Spin your left toes to face the left side of the room and press your heel down.
- Your back foot should be parallel with the front of the room.
- Inhale and reach your arms up alongside your head with your palms facing each other.
- Drop your shoulders down your back.
- Bring your torso up and off the front thigh.
- Don’t let your front knee extend past the toes.
- Both hips should face forward.
- Hold for one minute.
- Repeat on the opposite side.
Bridge:
Stretches: chest, neck, spine, and hips.
Why it’s good: Many men are tight in the intercostal muscles and connective tissue surrounding the rib cage, which can limit lung capacity. Bridge pose opens the chest and releases those tight muscles, allowing for fuller, easier breaths. Over time, practising this pose can improve performance in all physical activities and is helpful for relieving upper respiratory issues.

How to:
- Lie on your back, bend your knees, and place your feet flat on the floor hip-width apart.
- You should be able to tickle the backs of your heels with your hands.
- Place your arms on the floor alongside your body, palms down, and as you inhale, lift your hips off the floor and press them to the ceiling.
- Keep your knees directly over your heels.
- For an added shoulder stretch slide your arms under your body, interlace your fingers, and press the backs of your arms into the floor as you continue to lift your hips.
- Hold for 45 seconds and with each breath, let your hips float a little higher.
- Exhale when you lower your hips.
- Repeat 3 times.
Half Bow Pose:
Stretches: hips, shoulders, and thighs; strengthens back.
Why it’s good: One of the best stress-busting poses, Bow opens the chest to allow you to take in more oxygen. Strong abs are great, but can lead to injury if you don’t strengthen the back, too. Bow pose takes care of this, reducing your risk of injury due to muscular imbalance.

How to:
- Lie on your stomach and reach your left arm back toward your left foot with the palm facing up.
- Stretch your right arm out in front of you and your right leg out behind you.
- Bend your left knee so that your heel comes in toward your buttocks.
- Inhale and grab the outside of your left ankle.
- Press your ankle into your hand and your hand into your ankle as you lift your thighs off the floor.
- Breathe deeply and fully as you continue pressing your legs up and back.
- Hold for 30 seconds and switch sides.
- Repeat two or three times.
- Try the Full Bow Pose by grabbing both ankles.
Boat Pose:
Strengthens: abs, spine, arms and hip flexors.
Why it’s good: In addition to strengthening the core and back muscles, Boat promotes healthy thyroid and prostate gland function.

How to:
- Sit on the floor with your knees bent and feet on the floor in front of you.
- Place your hands behind your glutes and lean into the arms for support.
- Engage your core muscles and keep a perfectly straight spine as you lift your right leg and then the left, bringing them to a 45-degree angle with the floor.
- Bring your legs together and imagine squeezing a book between your thighs to keep them active.
- Lift through the sternum and slowly straighten your legs while keeping your torso straight (if it starts to collapse, keep a slight bend in the knees).
- Press through the balls of the feet and spread your toes wide.
- Reach your arms toward the front of the room, on either side of your legs, keeping them in line with your shoulders, palms facing down.
- Hold for 30 seconds, working up to a minute or longer.
Hero Pose:
Stretches: knees, ankles and thighs.
Why it’s good: Hero pose stabilises and strengthens the vulnerable knee joints while lubricating the connective tissues in and around the knee with blood, oxygen, and fluid, making it an essential pose for runners.

How to:
- Begin in a kneeling position with knees touching.
- Bring your heels out alongside your buttocks, keeping your shins and ankles pressing down into the floor.
- If you can, sit your buttocks on the floor between your legs.
- If this is uncomfortable, place a phone book or block beneath you to lessen the tension in the knees and ankles.
- You will feel a strong stretching sensation, but you should not feel pain.
- This is a progressive pose and your body will adapt to it over time.
- Hold for one minute and keep your breath slow and deep.
- Rest, and repeat a second time.
Reclining Big Toe:
Stretches: hips, thighs, hamstrings, groins, and calves; strengthens the knees.
Why it’s good: This pose stimulates the prostate gland and improves digestion. Runners may find it useful for relieving sciatica caused by a tight piriformis.

How to:
- Lie on your back and extend your left leg toward the ceiling at a 90-degree angle with your right leg extended along the floor.
- Flex both feet.
- Bend your left knee and bring the knee in toward your chest using your hands.
- Hug it tightly against your body to relax your hip.
- Next, loop a strap around your left foot and slowly straighten the left leg back to 90 degrees.
- Press your right thigh firmly down against the floor.
- Hold for 5 breaths and repeat on the opposite side.
- Repeat twice on each side.
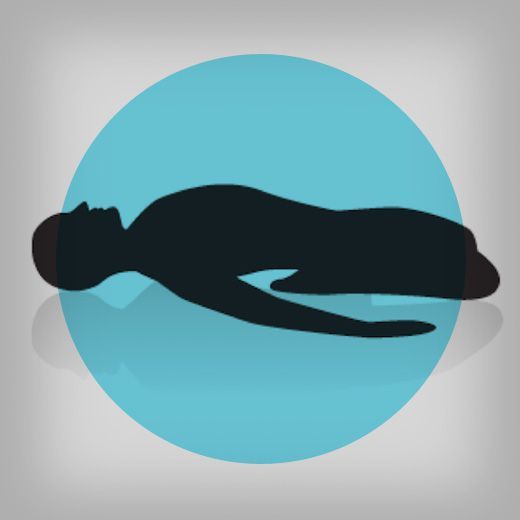
Finally: Finish in Corpse Pose, lying flat on your back with your arms alongside your body. Close your eyes and breathe naturally. Stay here for at least two to three minutes and allow every muscle to melt into the floor beneath you.

