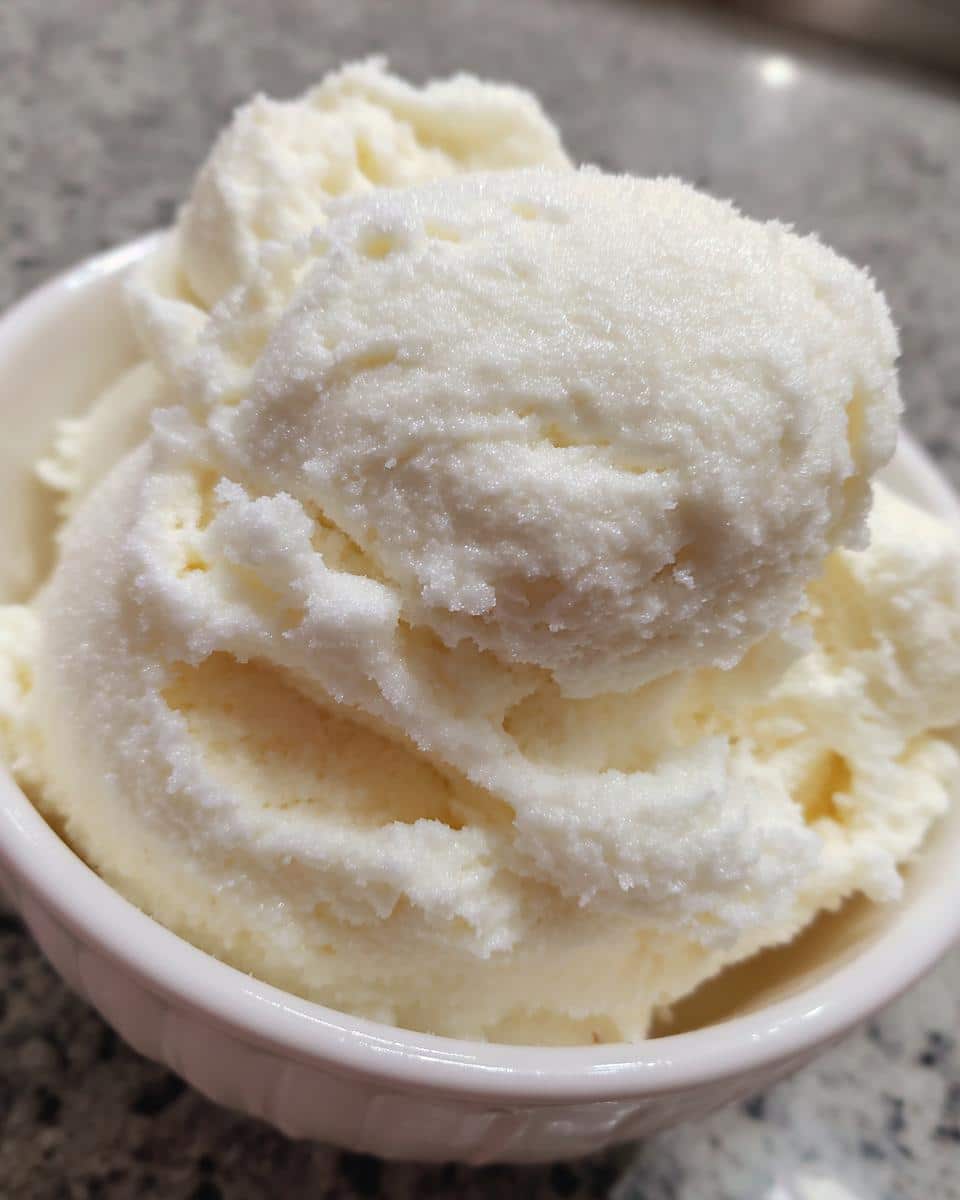
Nothing brings back childhood winter memories like making snow cream – that magical moment when fresh snowfall transforms into a sweet, creamy treat in minutes. This simple snow cream recipe has been my go-to winter delight for over 20 years, perfected through countless snowy afternoons with my kids. Just a handful of pantry staples and clean snow create a dessert that beats any store-bought ice cream. I still remember my grandmother teaching me her version, with her big yellow mixing bowl catching snowflakes straight from the sky. The beauty of snow cream lies in its simplicity – no fancy equipment, no waiting, just pure snowy joy you can eat straight from the bowl.
Why You’ll Love This Snow Cream Recipe
This isn’t just any winter dessert—it’s pure magic in a bowl! Here’s why this snow cream recipe will become your new favorite snowy-day tradition:
- Instant nostalgia: One bite takes you right back to childhood snow days
- 5-minute wonder: From snow to spoon in less time than it takes to zip up your coat
- Endless possibilities: Dress it up or keep it simple – your snow, your rules!
- Kid-approved: Little hands love helping mix (and sneak tastes)
- Pantry-friendly: No special trips to the store needed
The best part? That first cold, creamy bite tastes like winter happiness you can eat.
Snow Cream Recipe Ingredients
Here’s everything you’ll need to turn fresh snow into a dreamy winter treat. Trust me – quality matters with these simple ingredients!
- 8 cups fresh, clean snow (packed lightly – and only the top layer of untouched snow!)
- 1 cup milk (whole milk makes it extra creamy, but any kind works)
- 1 teaspoon pure vanilla extract (the good stuff – no imitation flavor here!)
- Pinch of salt (just a tiny bit makes all the flavors pop)
1/2 cup granulated sugar (adjust to taste – I usually start with 1/3 cup for kids)
Quick safety note: Never use yellow or discolored snow, and avoid snow that’s been sitting near roads or sidewalks. If it’s not sparkly white, don’t eat it!
How to Make Snow Cream
Alright, let’s turn that beautiful snowfall into edible magic! Here’s my foolproof method for perfect snow cream every single time. The key? Work fast, keep everything cold, and have those spoons ready – this treat waits for no one!
Step 1: Gather Fresh Snow
Grab a big mixing bowl (metal works best – it stays colder!) and head outside. Scoop only the top layer of freshly fallen snow that’s pure white and untouched. I always pretend I’m collecting edible diamonds – if it’s not sparkling clean, it doesn’t belong in our dessert!
Step 2: Mix the Base
In another bowl, whisk together the milk, sugar, vanilla and salt until the sugar completely dissolves. This takes about 30 seconds of vigorous stirring – no gritty bits allowed! Pro tip: If your milk is cold from the fridge, the sugar will dissolve even faster.
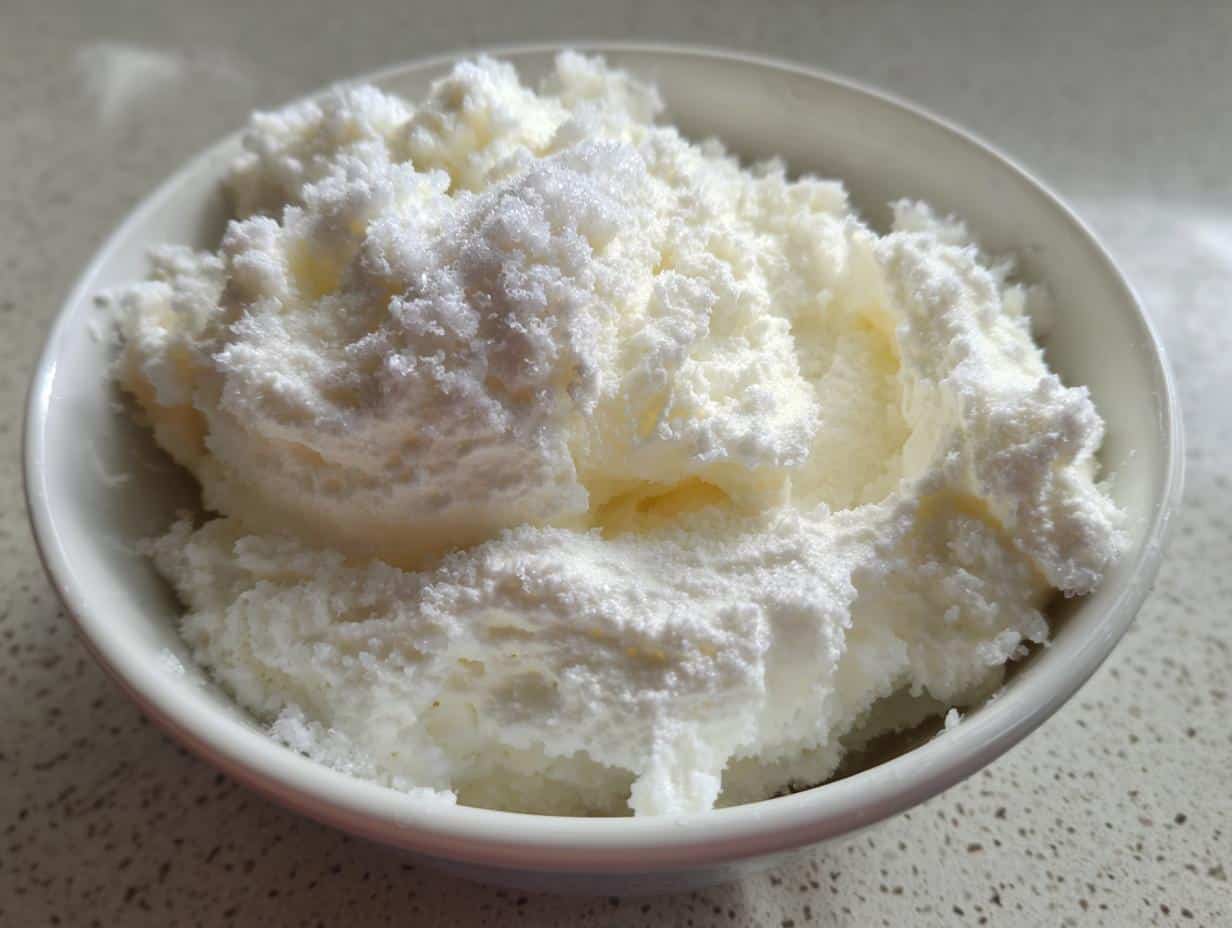
Step 3: Combine and Serve
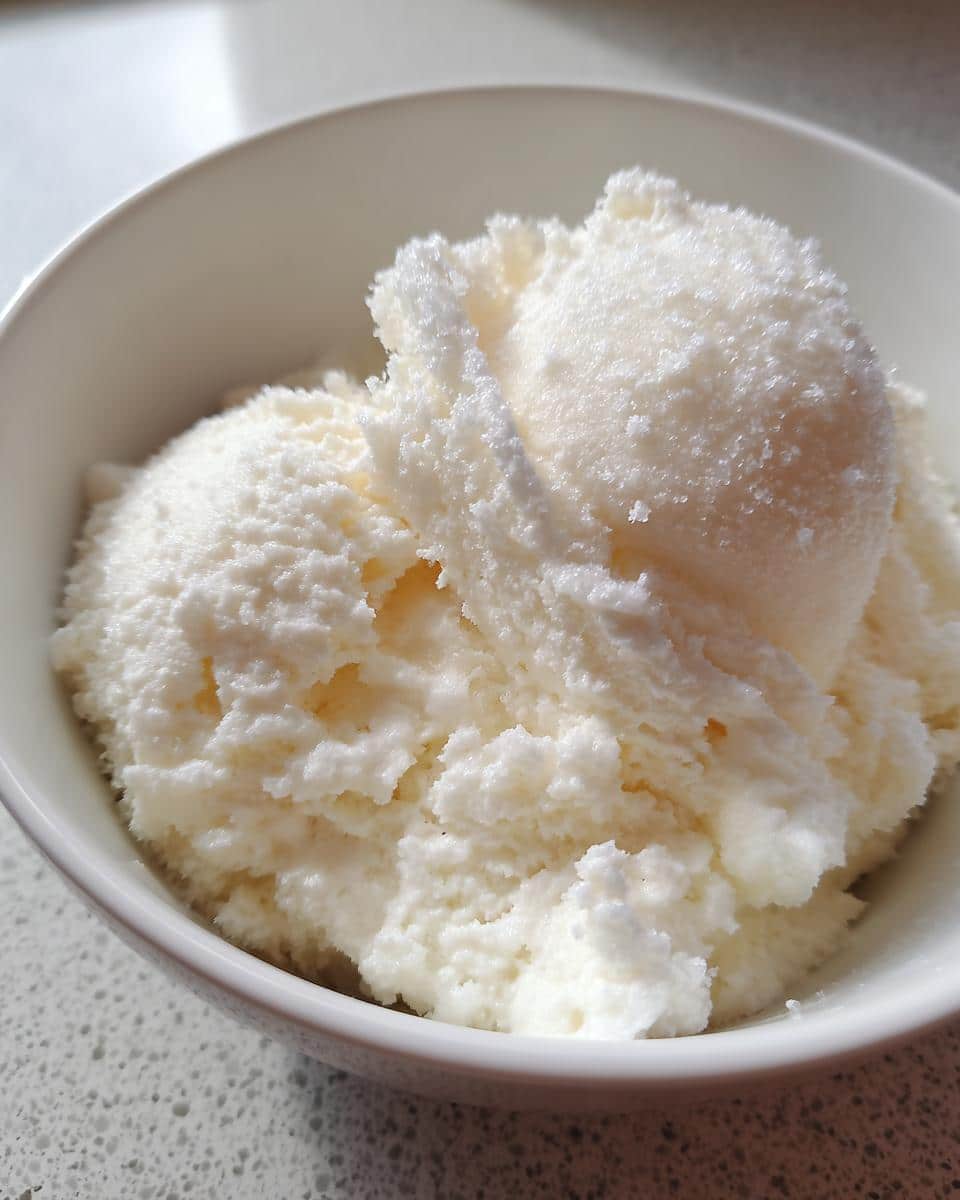
Now the fun part! Pour your sweet milk mixture over the snow and gently fold everything together with a big spoon. You’re aiming for the texture of soft-serve ice cream – fluffy but not soupy. Serve immediately in chilled cups (I pop mine in the freezer while prepping) and watch those happy faces take their first bites!
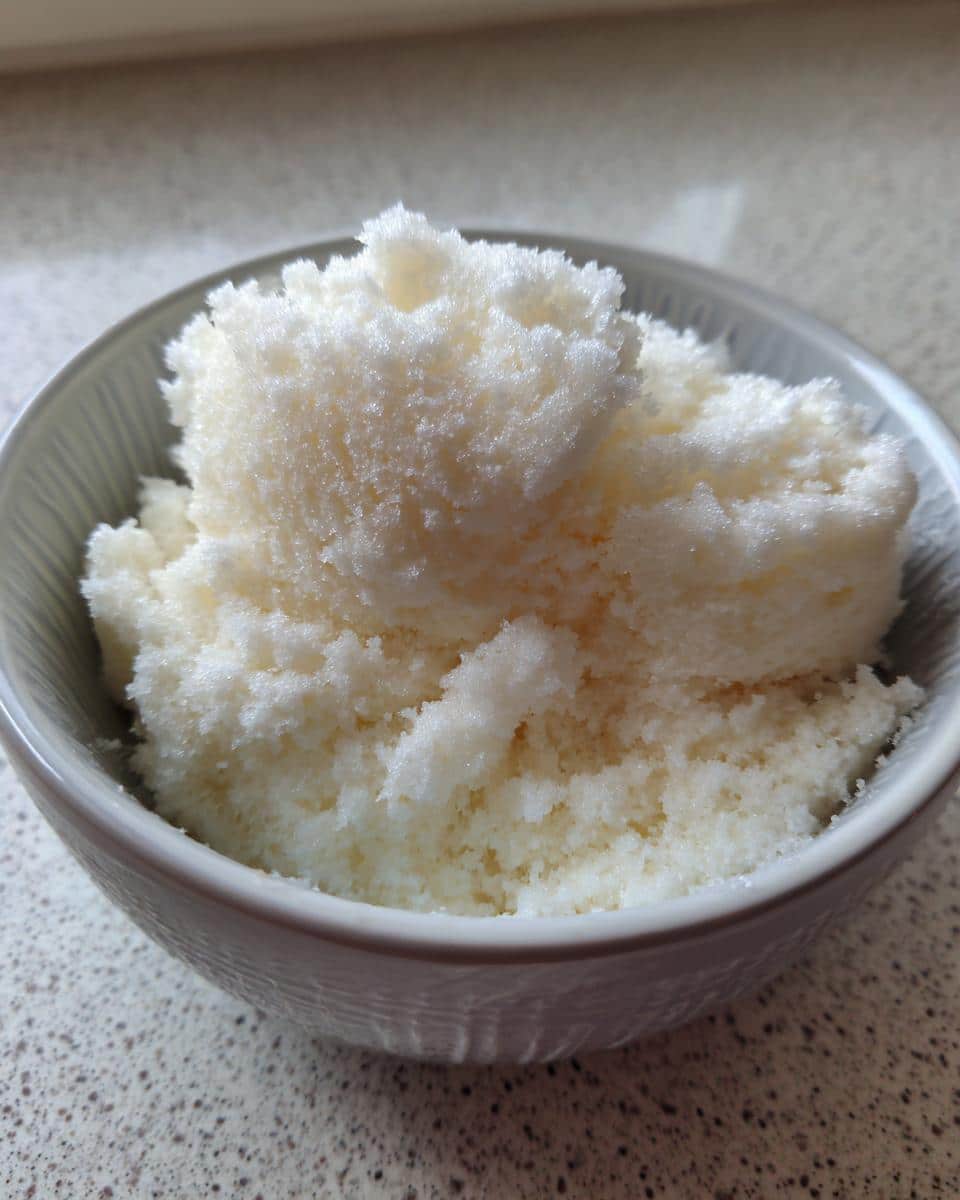
Remember: Snow cream waits for no one! This is a “make it and eat it right away” kind of treat. The longer it sits, the more it melts, so have those spoons ready and dig in while it’s perfectly fluffy.
Expert Tips for Perfect Snow Cream
After two decades of snowy kitchen experiments, I’ve learned all the tricks for next-level snow cream! These simple tips make all the difference between good and oh-my-goodness amazing:
- Creamy dreamy: Swap regular milk for sweetened condensed milk – it creates an unbelievably rich, velvety texture that’ll have everyone begging for seconds
- Fluff factor: Gently fold (don’t stir!) the snow and milk mixture just until combined – overmixing makes it melt too fast
- Flavor boost: Stir in a tablespoon of cocoa powder with the sugar for instant chocolate snow cream magic
- Temperature trick: Chill your mixing bowls in the freezer for 10 minutes before starting – it helps keep everything icy longer
My favorite pro move? A tiny splash of almond extract along with the vanilla – it adds this incredible depth of flavor that makes people wonder “what’s your secret?”
Snow Cream Recipe Variations
Why stop at vanilla when you can dress up your snow cream like a winter wonderland? Here are my favorite ways to mix things up – perfect for when you want to get creative with your snowy canvas:
- Berry bliss: Swirl in strawberry syrup or mashed raspberries for a fruity twist that turns your bowl pink
- Peppermint party: Swap vanilla for peppermint extract and add crushed candy canes – instant holiday magic!
- Caramel drizzle: Top with warm caramel sauce and a pinch of sea salt for that perfect sweet-salty combo
The possibilities are endless – I’ve even done a “snow cream bar” with toppings where everyone can customize their bowl!
Storage and Serving Suggestions
Here’s the truth about snow cream – it’s a fleeting winter miracle meant to be enjoyed immediately! Unlike regular ice cream, storing it just turns it into a sad, icy puddle. But oh, those first glorious moments are worth it! Dress up your fresh-made bowls with rainbow sprinkles or crumbled shortbread cookies for extra fun. My kids love “snow cream sundaes” with chocolate chips and whipped cream piled high!
Snow Cream Recipe FAQs
Over the years, I’ve gotten all sorts of questions about making snow cream – here are the ones that pop up most often!
Can I use artificial snow or shaved ice instead?
Oh honey, no! Store-bought fake snow often contains chemicals you definitely don’t want to eat. And shaved ice just turns to water – you’ll end up with sweet soup instead of fluffy snow cream. Only fresh, clean natural snow has that magical texture we’re after!
Can I freeze leftovers for later?
Trust me, I’ve tried – it’s heartbreaking! Snow cream turns into a solid ice block in the freezer. This is one of those “enjoy it now” treats that just doesn’t keep. The good news? It takes less than 5 minutes to make a fresh batch whenever the snow falls!
Is snow cream safe for kids?
Absolutely – as long as you use clean, fresh snow from untouched areas. I always supervise my little helpers to make sure we’re scooping only the pure white top layer. The milk and sugar help kill any bacteria, but common sense is key – if the snow looks questionable, skip it!
Nutritional Information
Let’s keep it real – snow cream isn’t health food, but it’s a once-a-year treat worth savoring! A typical serving (about 1 cup) has roughly 120 calories and 20g of sugar, but these numbers can change based on your milk choice and how sweet you make it. My philosophy? Enjoy every snowy spoonful guilt-free – winter magic like this doesn’t come around often!
Share Your Snow Cream Creations
Did you make this snow cream? I’d love to see your snowy masterpieces! Snap a photo, leave a comment, or tag me – let’s swap snow day stories and creative topping ideas! You can find more delicious recipes on Pinterest.
5-Minute Snow Cream Recipe – Magical Winter Treat!
- Prep Time: 5 minutes
- Cook Time: 0 minutes
- Total Time: 5 minutes
- Yield: 4 servings 1x
- Category: Dessert
- Method: No-Cook
- Cuisine: American
- Diet: Vegetarian
Description
A simple and delicious snow cream recipe using fresh snow and a few pantry staples.
Ingredients
- 8 cups of fresh, clean snow
- 1 cup of milk
- 1/2 cup of granulated sugar
- 1 teaspoon of vanilla extract
- Pinch of salt
Instructions
- Gather fresh, clean snow in a large bowl.
- In a separate bowl, mix milk, sugar, vanilla, and salt until sugar dissolves.
- Pour the milk mixture over the snow.
- Stir gently until well combined.
- Serve immediately for best texture.
Notes
- Use only fresh, untouched snow.
- Adjust sugar to taste.
- For richer flavor, use condensed milk.
Nutrition
- Serving Size: 1 cup
- Calories: 120
- Sugar: 20g
- Sodium: 30mg
- Fat: 2g
- Saturated Fat: 1g
- Unsaturated Fat: 0.5g
- Trans Fat: 0g
- Carbohydrates: 25g
- Fiber: 0g
- Protein: 2g
- Cholesterol: 5mg
Keywords: snow cream, winter dessert, snow ice cream, easy dessert