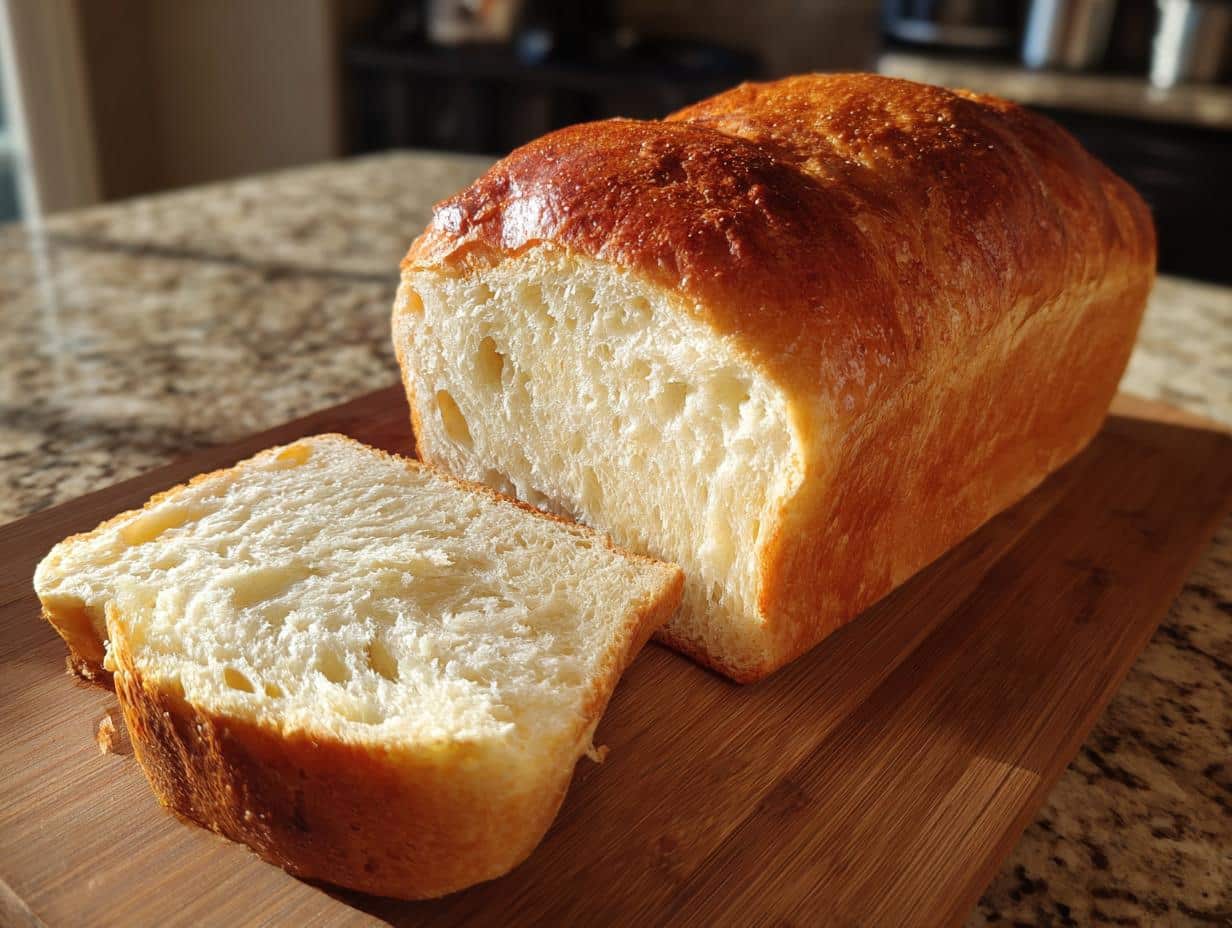
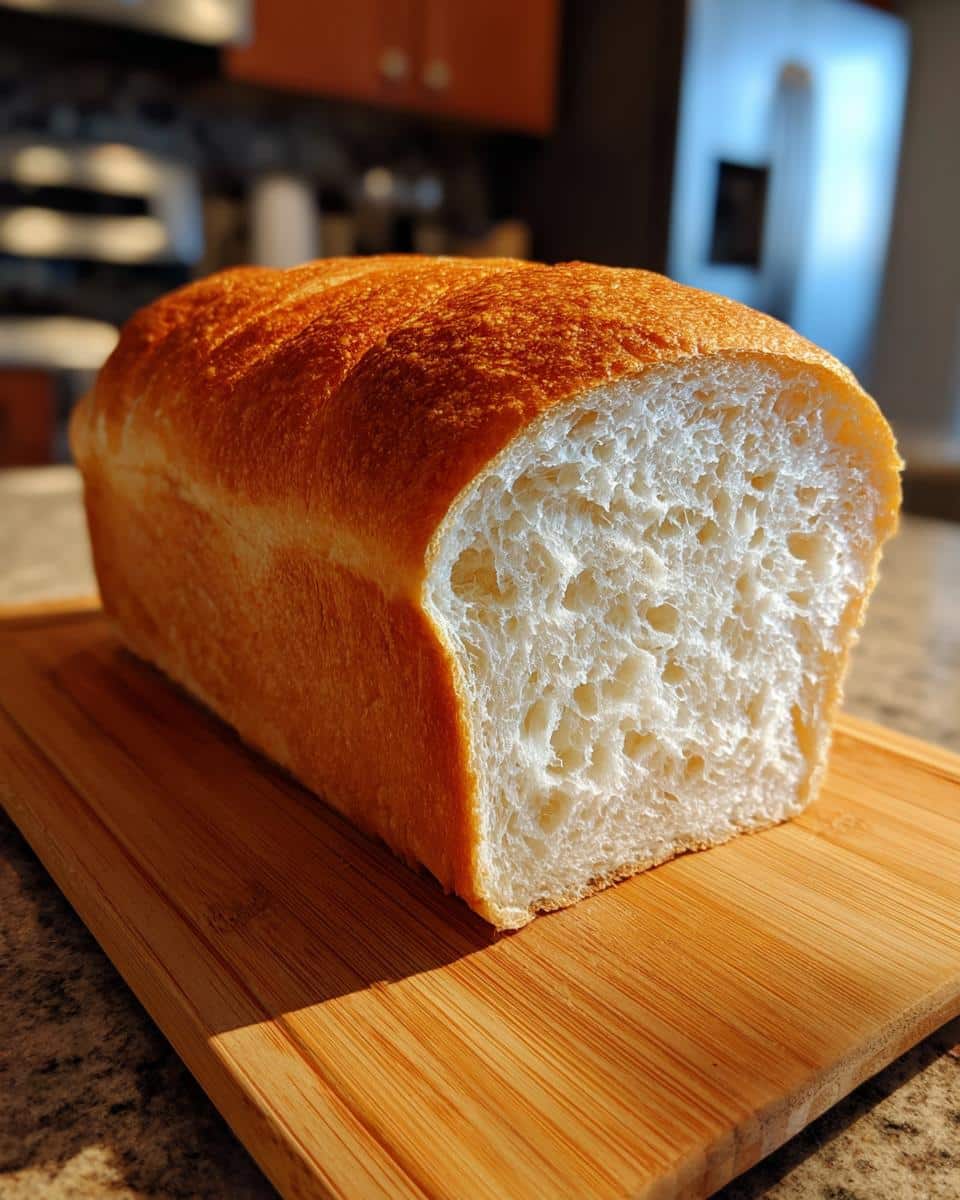
Oh, you’re gonna love this—bread machine recipes are my secret weapon for homemade bread with zero stress! I still remember the first time I tried mine—I was skeptical, but wow, the magic of tossing in ingredients and coming back to a perfectly golden loaf blew me away. No kneading, no babysitting the oven, just soft, warm bread that smells like a bakery. Whether you’re a beginner or a seasoned baker (pun intended), these recipes are foolproof. Trust me, once you start, you’ll wonder how you ever lived without it. Let’s dive into the easiest way to fill your kitchen with that irresistible fresh-bread aroma!
Why You’ll Love These Bread Machine Recipes
Listen, I’m not exaggerating when I say bread machines are life-changing. Here’s why:
- Set it and forget it: Throw ingredients in, press start, and walk away – no kneading, no oven-watching!
- Perfect texture every time: The machine’s programmed cycles give you that ideal soft-yet-chewy crumb
- Beginner-proof: Even if you’ve never baked before, you’ll feel like a pro with these recipes
- Wake up to fresh bread: Use the delay timer and wake up to warm bread (seriously, best alarm clock ever)
See? Magic in a machine!
Ingredients for Bread Machine Recipes
Okay, here’s the beautiful simplicity of bread machine baking—you only need a handful of pantry staples! But pay attention to these specifics—they make all the difference between good bread and oh-my-goodness bread:
- 3 cups bread flour (spooned & leveled) – That spoon-and-level method? Non-negotiable for perfect measurement. Just scooping packs too much flour!
- 1 cup warm water (110°F) – Think baby-bottle warm. Too hot kills yeast, too cold won’t wake it up properly.
- 2 tablespoons butter, softened – Not melted! I leave mine on the counter while gathering other ingredients.
- 1 tablespoon sugar – Just enough to feed the yeast without making the bread sweet.
- 1 teaspoon salt – Skip this and your bread will taste bland as cardboard.
- 2 teaspoons active dry yeast – Check the expiration date! Old yeast equals sad, flat bread.
See? Nothing fancy—just quality basics handled right. Now let’s make some magic!
How to Make Bread Machine Recipes
Alright, let’s get baking! This process is so satisfyingly simple—just follow these steps and let your machine do the heavy lifting:
Preparing the Bread Machine
First, remove the bread pan from the machine—sounds obvious, but I’ve totally forgotten this step before (whoops!). Now here’s Grandma’s golden rule: always add liquids first, then dry ingredients, with yeast last. This layering prevents the yeast from activating too soon. Just pile everything in the order listed—no mixing required!

Selecting the Right Setting
For basic white bread, you’ll want the “Basic” or “White Bread” setting (usually takes about 3 hours total). If your machine has options, pick medium crust—it gives that perfect golden balance. Feeling adventurous? Try the “French” setting for extra crispiness or “Whole Wheat” for heartier loaves!
- Secure the pan: Slide it back into the machine until it clicks into place
- Close the lid: Resist peeking—steam escaping affects the rise!
- Press start: The machine will beep when kneading begins
- Walk away: Seriously—go fold laundry or take a nap
- Enjoy the aroma: In about 3 hours, you’ll hear the magical “done” beep
When the cycle finishes, immediately remove the bread (I use oven mitts—that pan’s hot!) and let it cool on a rack for at least 15 minutes before slicing. Waiting is torture, but it prevents gummy slices—promise!
Pro Tips for Perfect Bread Machine Recipes
After years (and many loaves!) of bread machine experiments, here are my can’t-live-without tips for bakery-quality results every time:
- Check the dough after 10 minutes – Peek through the window while it’s kneading. The dough should form a soft ball—add a teaspoon of water if it’s dry or flour if it’s sticky.
- Keep that lid closed! I know the smell is intoxicating, but opening it releases steam and heat that your rising bread needs.
- Use the delay timer wisely – Never leave perishables like milk or eggs sitting too long. Stick to recipes with water if you’re using the timer.
- Give it space to cool – That first slice will be tempting, but waiting 15-20 minutes lets the crumb set properly.
- Clean immediately – Once the pan cools slightly, a quick soak makes cleaning dried dough a breeze (trust me, I’ve learned this the hard way).
Follow these, and you’ll have friends convinced you trained at a Parisian boulangerie!
Common Bread Machine Recipes Questions
I get asked these all the time—here are the bread machine mysteries solved!
“Can I use all-purpose flour instead of bread flour?”
Yes, but your loaf might be slightly less fluffy. Bread flour’s higher protein gives better structure. If substituting, add 1 tablespoon vital wheat gluten per cup of all-purpose flour for best results.
“Why did my bread collapse?”
Usually means too much liquid or yeast. Check measurements carefully! Also, avoid opening the lid while baking—that sudden temperature change can deflate your masterpiece.
“Can I make this without a bread machine?”
Absolutely! Just knead by hand for 10 minutes, let rise twice (1 hour each), then bake at 375°F for 30-35 minutes. But honestly? The machine’s easier!
Storing and Serving Bread Machine Recipes
Here’s the best part – that heavenly loaf stays fresh for days if you treat it right! First, let it cool completely on a wire rack (about 2 hours) before storing. I learned the hard way – sealing warm bread creates condensation that turns your crust soggy. Once cooled, wrap it tightly in plastic or store in a bread box at room temperature for up to 3 days.
For longer storage, slice and freeze in a zip-top bag. Just pop frozen slices straight in the toaster – they’ll taste fresh-baked! My favorite way to serve? Thick slices slathered with honey butter while still slightly warm. Heaven!
Nutritional Information for Bread Machine Recipes
Just a quick note—these numbers are estimates per slice (about 1/12th of the loaf). Your exact nutrition may vary slightly based on ingredient brands and slice thickness, but here’s the general breakdown for our basic bread machine recipe:
- Calories: 120
- Fat: 3g (1.5g saturated)
- Carbs: 22g (1g fiber, 2g sugar)
- Protein: 4g
- Sodium: 150mg
Not bad for homemade comfort food, right? Enjoy guilt-free!
Share Your Bread Machine Recipes Experience
I’d love to hear about your bread machine adventures! Did your loaf turn out perfectly? Try any fun variations? Drop a comment below or share photos of your baking triumphs – let’s swap tips and celebrate those golden crusts together!


3-Step Bread Machine Recipes for Effortless Heavenly Loaves
- Prep Time: 10 minutes
- Cook Time: 3 hours
- Total Time: 3 hours 10 minutes
- Yield: 1 loaf 1x
- Category: Baking
- Method: Bread Machine
- Cuisine: American
- Diet: Vegetarian
Description
Easy and quick bread machine recipes for homemade bread. Perfect for beginners and experienced bakers alike.
Ingredients
- 3 cups bread flour
- 1 cup warm water
- 1 tablespoon sugar
- 1 teaspoon salt
- 2 tablespoons butter
- 2 teaspoons active dry yeast
Instructions
- Add all ingredients to the bread machine pan in the order listed.
- Select the basic white bread setting.
- Press start and let the machine knead, rise, and bake the bread.
- When the cycle is complete, remove the bread from the pan and let it cool on a wire rack.
Notes
- Make sure ingredients are at room temperature.
- Do not open the lid during baking.
- Adjust water or flour slightly if the dough seems too dry or sticky.
Nutrition
- Serving Size: 1 slice
- Calories: 120
- Sugar: 2g
- Sodium: 150mg
- Fat: 3g
- Saturated Fat: 1.5g
- Unsaturated Fat: 1g
- Trans Fat: 0g
- Carbohydrates: 22g
- Fiber: 1g
- Protein: 4g
- Cholesterol: 5mg
Keywords: bread machine, homemade bread, easy bread recipe


