This incredible Chocolate Brownie Pizza combines the fudgy goodness of a classic brownie with the fun, shareable nature of pizza. Topped with white chocolate chips and colorful M&M’s, it’s a dessert that delivers both visual appeal and amazing flavor. Perfect for parties, family gatherings, or anytime you need a showstopping sweet treat!
Why You’ll Love This Recipe:
- Crowd-Pleaser: Everyone loves the combination of fudgy brownie base and colorful toppings
- Easy to Make: Simple ingredients and straightforward instructions make this achievable for any baker
- Customizable: Swap in your favorite candies, nuts, or chocolate chips to create your own version
- Perfect for Celebrations: The pizza shape makes it festive and ideal for birthdays and gatherings
- Make-Ahead Friendly: Can be prepared in advance and stored until needed
- Instagram-Worthy: The colorful toppings make this dessert as beautiful as it is delicious
Ingredients You’ll Need:
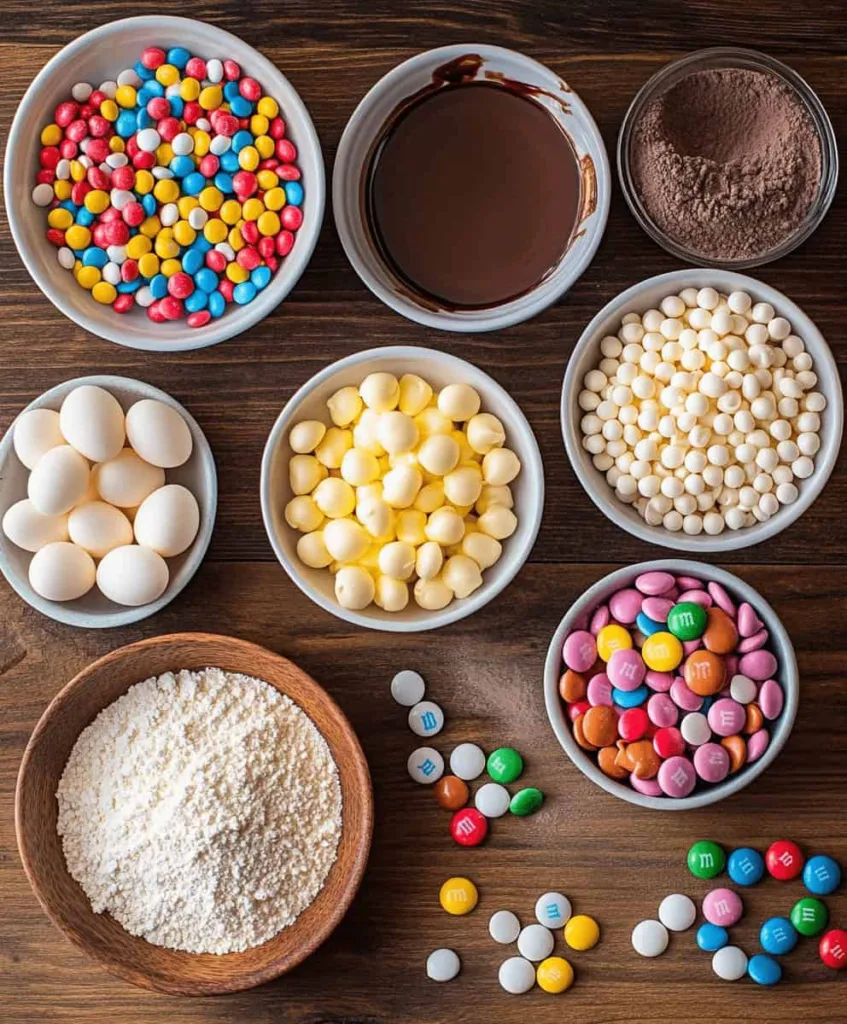
- 1 cup unsalted butter, melted
- 2 cups granulated sugar
- 4 large eggs
- 2 tsp vanilla extract
- 1½ cups all-purpose flour
- ½ cup unsweetened cocoa powder
- ½ tsp salt
- 1 cup white chocolate chips
- 1 cup M&M’s + extra for topping
- Optional toppings: drizzle of chocolate sauce, sprinkles, or crushed nuts
How to Make Chocolate Brownie Pizza:
Step-by-Step Instructions:
- Preheat your oven to 350°F (175°C). Grease a 14-inch pizza pan or line it with parchment paper.
- Mix wet ingredients: In a large bowl, whisk together the melted butter and sugar until well combined. Add eggs one at a time, mixing well after each addition. Stir in the vanilla extract.
- Combine dry ingredients: In a separate bowl, whisk together the flour, cocoa powder, and salt.
- Create the batter: Gradually add the dry ingredients to the wet ingredients, stirring until just combined. Be careful not to overmix.
- Add mix-ins: Fold in ½ cup of white chocolate chips and ½ cup of M&M’s, saving the rest for topping.
- Spread the batter: Pour the brownie batter onto the prepared pizza pan and spread it evenly into a circle, leaving about 1 inch from the edge (the batter will spread slightly during baking).
- Add toppings: Sprinkle the remaining white chocolate chips and M&M’s over the top of the brownie batter.
- Bake: Place in the preheated oven and bake for 20-25 minutes, or until the edges are set but the center is still slightly soft. The brownie will continue to set as it cools.
- Cool: Allow the brownie pizza to cool completely in the pan before slicing and serving.
- Slice and serve: Cut into wedges like a pizza and enjoy!
Helpful Tips:
- Don’t overbake: The key to fudgy brownies is to remove them from the oven when they’re just set around the edges but still slightly soft in the center.
- Room temperature eggs: Using eggs at room temperature helps them incorporate better into the batter.
- Even spreading: Use an offset spatula to spread the batter evenly for consistent baking.
- Cutting tip: Use a pizza cutter for clean, even slices. Wipe the blade between cuts for the cleanest results.
- Decoration ideas: Add your toppings in creative patterns – try concentric circles or “pizza slice” sections of different toppings.
- Mix-in variations: Try dark chocolate chips, peanut butter chips, or crushed Oreos for different flavor combinations.
Details:
- Prep Time: 15 minutes
- Cook Time: 25 minutes
- Total Time: 40 minutes + cooling time
- Servings: 12 slices
- Calories: Approximately 420 calories per slice
Notes:

- For a gluten-free version, substitute the all-purpose flour with a 1:1 gluten-free flour blend.
- To make this dessert more chocolatey, add an additional ¼ cup of cocoa powder to the batter.
- For a mint chocolate version, add ½ teaspoon of mint extract to the batter and use mint chocolate chips.
- Serving suggestion: Warm individual slices for 15 seconds in the microwave and top with a scoop of vanilla ice cream for an extra special treat.
Frequently Asked Questions:
Can I make Chocolate Brownie Pizza ahead of time?
Yes! This brownie pizza can be made 1-2 days in advance. Store in an airtight container at room temperature.
Can I freeze Chocolate Brownie Pizza?
Absolutely! Wrap it well in plastic wrap and then aluminum foil. Freeze for up to 3 months. Thaw at room temperature before serving.
Why did my brownie pizza crack?
Cracks usually indicate that the brownie was slightly overbaked. Next time, try reducing the baking time by 2-3 minutes.
Can I use a regular round cake pan instead of a pizza pan?
Yes, you can use a 12-inch round cake pan, but you may need to adjust the baking time slightly.
Is there a way to make this recipe less sweet?
Reduce the sugar to 1½ cups and use dark chocolate chips instead of white chocolate for a less sweet version.
Can I add nuts to my Chocolate Brownie Pizza?
Definitely! Add ½ cup of chopped walnuts, pecans, or almonds to the batter before baking.
Storage Instructions:
- Room Temperature: Store in an airtight container for up to 3 days.
- Refrigerator: Keep in an airtight container for up to 1 week.
- Freezer: Wrap tightly in plastic wrap, then aluminum foil, and freeze for up to 3 months.
- Reheating: For that fresh-baked taste, warm individual slices in the microwave for 10-15 seconds before serving.
Conclusion:
This Chocolate Brownie Pizza combines the best of two beloved desserts into one unforgettable treat. The fudgy brownie base provides the perfect canvas for sweet, colorful toppings, creating a dessert that’s as fun to make as it is to eat. Whether you’re hosting a party, looking for a unique dessert to bring to a potluck, or simply craving something special for family movie night, this recipe is guaranteed to impress. The combination of textures and flavors – from the rich, chocolatey brownie to the creamy white chocolate chips and crunchy candy pieces – creates a dessert experience that will have everyone asking for seconds. Give this Chocolate Brownie Pizza a try and watch it become a new family favorite!