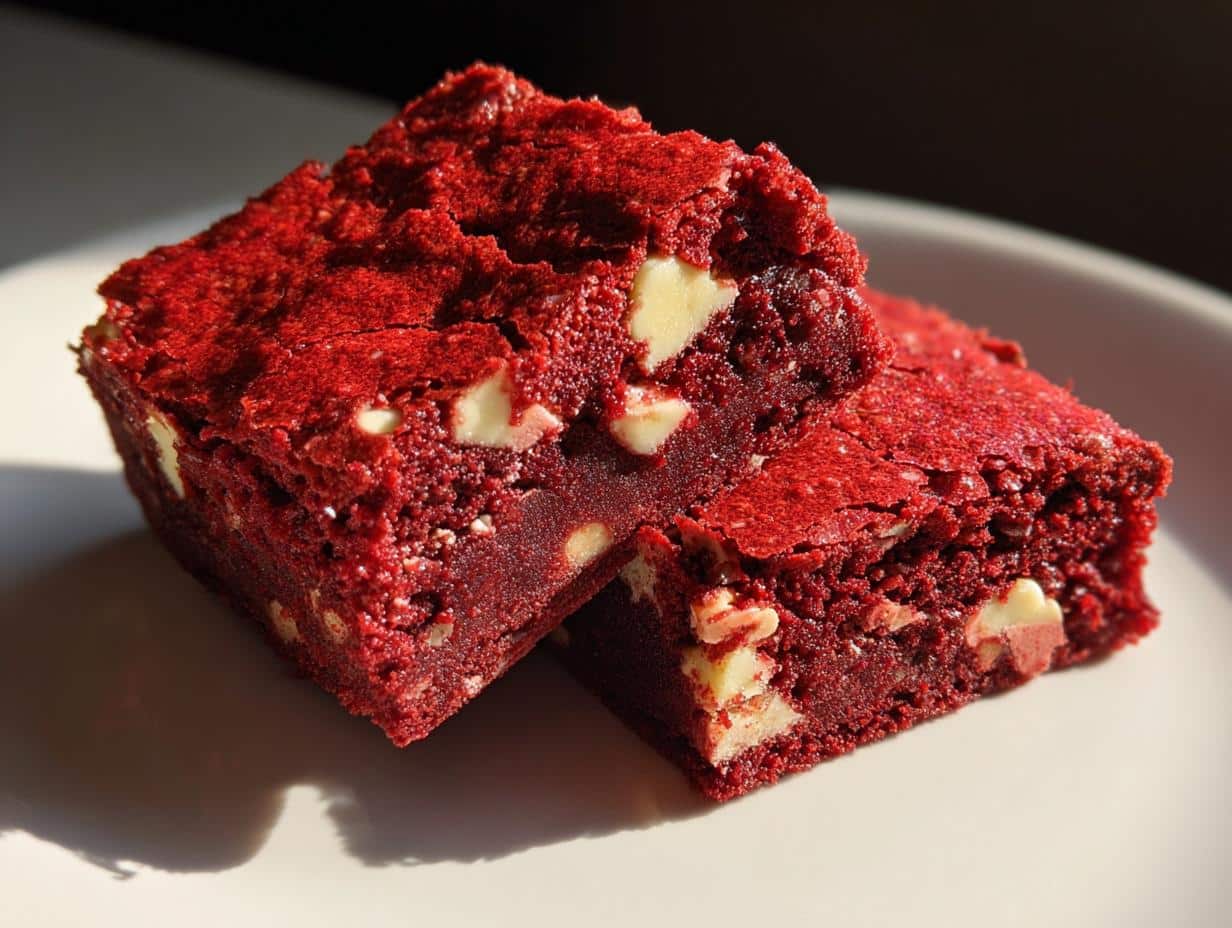
Oh my gosh, you HAVE to try these red velvet brownies! They’re my go-to dessert when I want something rich, fudgy, and just a little bit showstopping. That deep red color? It’s like edible magic—especially when you pair it with those tiny flecks of white chocolate chips. And the flavor? A perfect balance of cocoa and vanilla, not too sweet, not too intense. I first made these for a Valentine’s Day party years ago, and now my friends won’t let me show up without them. The best part? They come together in one bowl, no fancy skills needed. Trust me, once you bake a batch, you’ll understand why they disappear so fast!
Why You’ll Love These Red Velvet Brownies
Listen, these aren’t just any brownies—they’re the kind that make people stop mid-conversation to ask, “Wait, WHAT did you just bake?” Here’s why they’re my forever favorite:
- One-bowl wonder: Less cleanup means more time for eating (priorities, right?).
- That red velvet magic: The cocoa’s subtle, the color’s vibrant, and the white chocolate chips? Pure confetti.
- Holiday hero: Christmas, Valentine’s Day, birthdays—they steal the show every time.
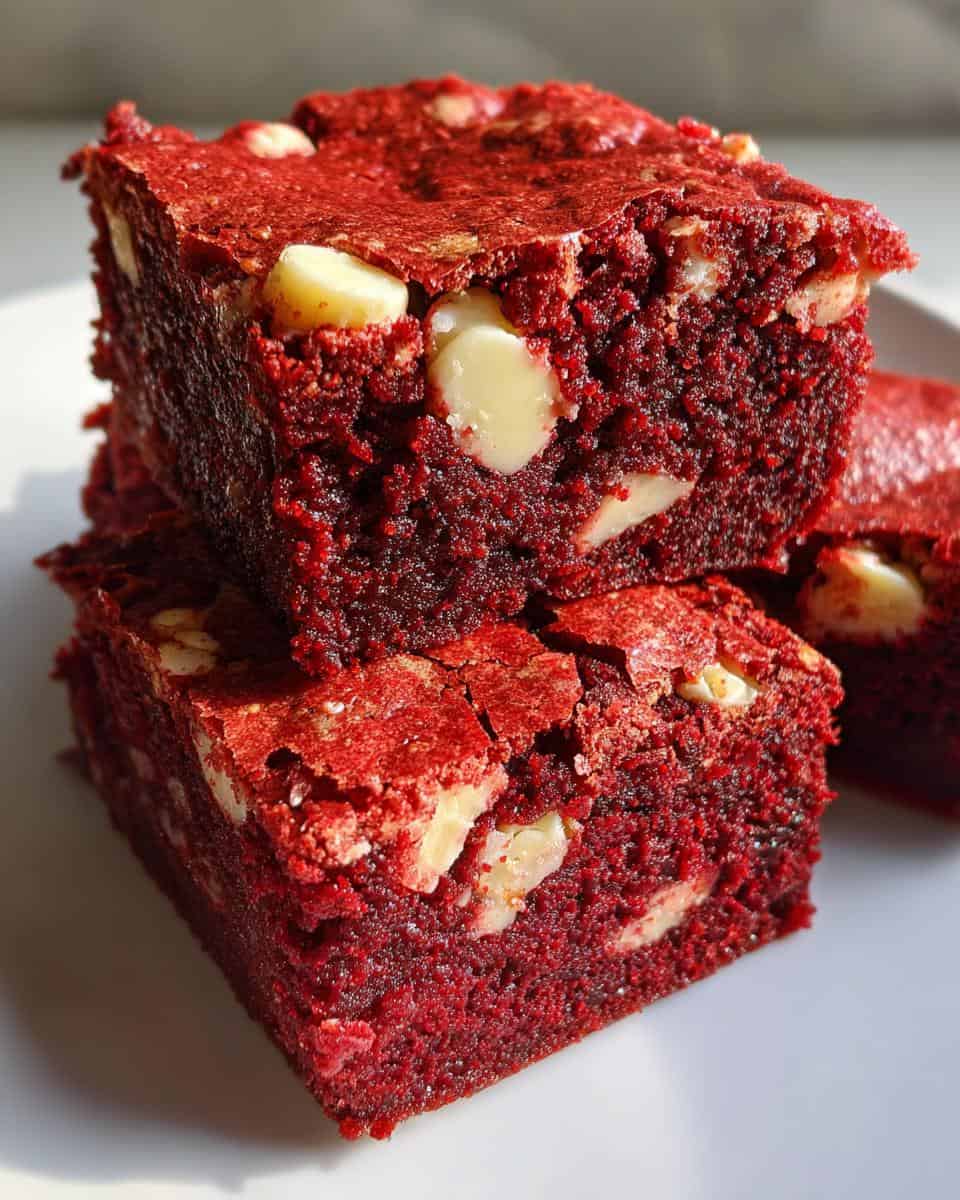
- Texture dreams: Fudgy centers with just the right chew. No cakey imposters here!
Seriously, they’re like edible happiness in a pan. You’ll see.
Ingredients for Red Velvet Brownies
Here’s everything you’ll need to make these gorgeous red velvet brownies – and yes, I promise it’s all stuff you probably have already (except maybe the food coloring, but trust me, it’s worth grabbing!). Measure carefully – baking’s a science, even when it’s this fun:
- 1 cup unsalted butter, melted (I just nuke it for 30-second bursts until it’s liquid gold)
- 2 cups granulated sugar – pack it lightly in your measuring cup
- 4 large eggs – room temperature blends better (just leave ’em out for 30 minutes)
- 1 tsp vanilla extract – the good stuff, not imitation!
- 1/4 cup cocoa powder – regular works great, but see my notes below
- 2 tbsp red food coloring – gel gives best color (liquid makes batter too thin)
- 1 1/2 cups all-purpose flour – spoon & level, don’t scoop!
- 1/2 tsp salt – balances all that sweetness
- 1 cup white chocolate chips – or chunks if you’re feeling fancy
Ingredient Notes & Substitutions
Okay, let’s talk swaps! Cocoa powder: Regular works fine, but Dutch-processed gives a deeper chocolate flavor (just don’t use it if you’re adding baking soda later). Food coloring: Gel gives that stunning red color without thinning your batter – liquid takes way more (like 1/4 cup!) and can make brownies gummy. White chocolate: Hate it? Try milk chocolate chips or even chopped pecans instead. And if you’re out of butter, coconut oil works in a pinch – but the flavor changes a bit.
Equipment You’ll Need
Don’t worry—you don’t need any fancy gadgets for these red velvet brownies. Just gather these basics, and you’re golden:
- 9×13-inch baking pan – My trusty metal one has seen hundreds of batches (grease it well!)
- Large mixing bowl – Big enough for enthusiastic stirring without splatters
- Whisk – For getting that butter and sugar perfectly creamy
- Rubber spatula – Essential for scraping every last bit of that ruby-red batter into the pan
Nice-to-haves: A stand mixer with paddle attachment saves arm work (but honestly, I usually just use elbow grease). And if you’re extra, a sifter for the dry ingredients—though I often just whisk them together with gusto.
How to Make Red Velvet Brownies
Alright, let’s get baking! These red velvet brownies come together faster than you’d think – just follow these steps, and you’ll have a pan of ruby-red deliciousness in no time:
- Preheat that oven! Get it to 350°F (175°C) while you prep – a hot oven means perfect edges.
- Butter + sugar = love: In your big bowl, whisk melted butter and sugar until it looks like wet sand. No lumps!
- Eggs one by one: Add them slowly, mixing well after each. This builds structure without overworking the batter.
- Vanilla & cocoa: Stir in vanilla, then sift cocoa right in. Watch that rich color develop!
- Red alert: Now the fun part – add food coloring gradually until you get that signature vibrant red. Gel coloring mixes best.
- Flour time: Gently fold in flour and salt until JUST combined. Overmixing = tough brownies (we want fudgy!).
- Chip party: Toss in white chocolate chips last – they’ll stay whole this way.
- Pan prep: Pour into your greased pan and smooth the top. I use a wet spatula for this.
- Bake magic: 25-30 minutes until edges pull away slightly. Toothpick test? You want moist crumbs, not wet batter.
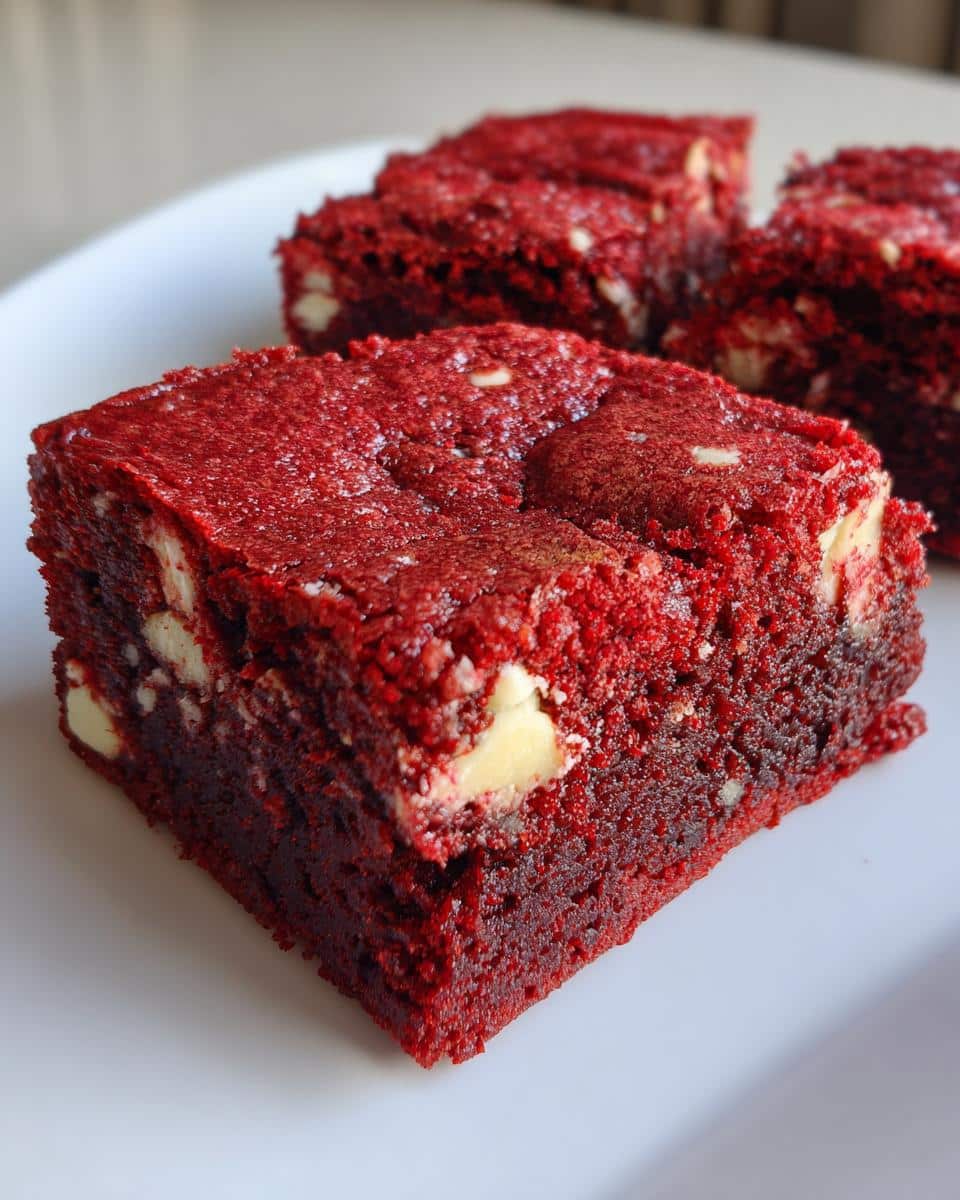
- Cool patience: Let them cool completely before cutting – I know, torture! But it prevents crumbling.
Tips for Perfect Red Velvet Brownies
After dozens (okay, hundreds) of batches, here are my foolproof tricks:
- Room temp eggs matter: Cold eggs can make batter separate. Just set them out ahead!
- Spread evenly: Uneven batter = uneven baking. Take an extra minute to smooth it.
- Underbake slightly: They keep cooking in the pan. Take them out when the center still jiggles a tiny bit.
- Cream cheese upgrade: Swirl softened cream cheese mixed with 1/4 cup sugar on top before baking for a marbled effect.
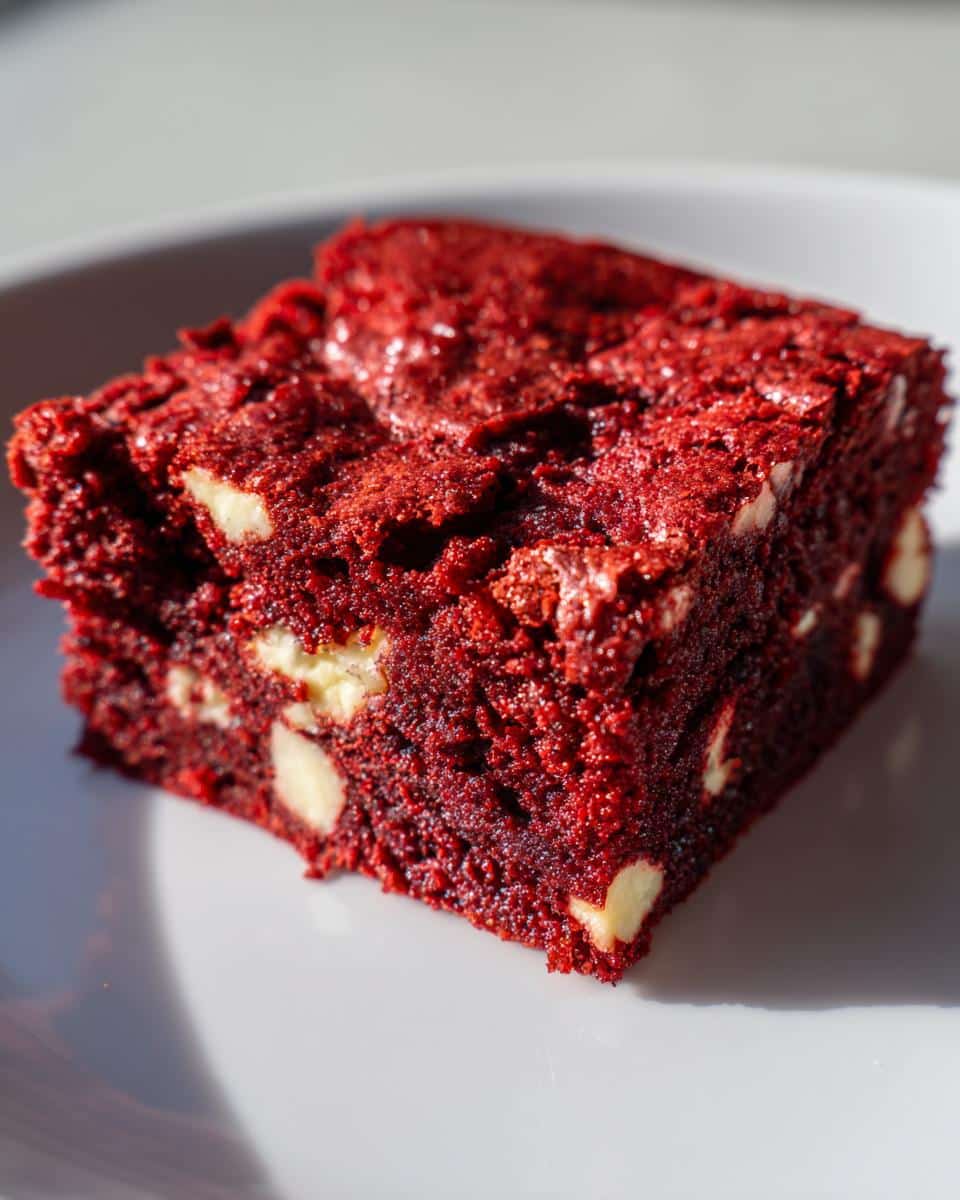
- Clean cuts: Wipe your knife between slices for picture-perfect squares.
See? Easy peasy. Now go enjoy that red velvet magic!
Serving Suggestions for Red Velvet Brownies
Oh, the possibilities! These red velvet brownies are delicious plain, but why stop there? Here are my favorite ways to dress them up – perfect for when you want to impress or just treat yourself:
- À la mode: Warm brownie + cold vanilla ice cream = heaven. The melty edges against the creamy ice cream? *Chef’s kiss*
- Powdered sugar snow: A light dusting makes them look bakery-fancy. Use a fine-mesh sieve for that perfect sprinkle.
- Chocolate drizzle: Melt some dark chocolate with a splash of cream and zigzag it over the top. Bonus: Add sea salt flakes!
- Berry buddies: Fresh raspberries or strawberries cut through the richness beautifully.
- Coffee break: Serve with espresso – the bitterness balances the sweetness like magic.
My personal favorite? Day-old brownies microwaved for 10 seconds with a scoop of mint chocolate chip ice cream. Don’t knock it till you try it!
Storing & Reheating Red Velvet Brownies
Okay, let’s be real – these brownies rarely last long enough to need storing! But just in case you miraculously have leftovers (or want to bake ahead), here’s how to keep them tasting fresh:
Room temp magic: Store cooled brownies in an airtight container at room temperature for up to 3 days. I like layering them with parchment paper so they don’t stick together. That slight crispness on top stays perfect this way!
Freezer hack: Wrap individual squares tightly in plastic wrap, then pop them in a freezer bag for up to a month. Thaw overnight in the fridge or at room temp for 2 hours. Pro tip: Freeze some without toppings if you plan to add ice cream later.
Quick revival: Microwave cold brownies for 10-15 seconds to get that fresh-from-the-oven warmth. The chocolate chips will get melty again – yum! Just don’t overdo it or they’ll turn rubbery.
Bonus tip: If they somehow get dry (how?!), place a slice of bread in the container overnight. The brownies will absorb the moisture and soften right up. Grandma’s trick never fails!
Red Velvet Brownies Nutritional Information
Now, I’m no nutritionist, but I know some of you like to keep track – so here’s the scoop on what’s in these beauties. Remember, these are estimates based on standard ingredients (your exact brand of butter or chocolate chips might change things slightly). For one glorious 2-inch square:
- Calories: 220 – worth every one!
- Fat: 12g (7g saturated) – most comes from that glorious butter
- Carbs: 26g – includes 18g sugar (hey, it’s dessert!)
- Protein: 3g – thanks, eggs and flour
- Fiber: 1g – cocoa powder to the rescue
- Sodium: 80mg – just a pinch of salt does the trick
And before you ask – no, I haven’t calculated the exact nutritional impact of adding that extra scoop of ice cream on top. Some joys in life aren’t meant to be measured!
Red Velvet Brownies FAQs
I get questions about these red velvet brownies all the time – so here are the answers to the big ones that keep popping up in my kitchen (and inbox!):
Can I use liquid food coloring instead of gel?
Technically yes, but you’ll need about 1/4 cup of liquid to get the same vibrant red, and it might make your batter too thin. Gel coloring gives that rich color without messing with texture – worth buying a small tube!
What if I don’t have cocoa powder?
The cocoa gives that signature red velvet flavor, but in a pinch, you can leave it out. Just know they’ll taste more like vanilla brownies with food coloring. Not bad, just different!
Why are my brownies dry?
Three likely culprits: 1) Overbaking (pull them when the center still jiggles slightly), 2) Overmixing the flour (fold gently!), or 3) Old baking powder/soda if your recipe includes it. Check those oven temps!
Can I make these ahead for a party?
Absolutely! Bake them 1-2 days before and store at room temp, or freeze for up to a month. They actually taste better on day two as flavors meld. Just add any toppings fresh.
Help – my red turned brown!
Natural cocoa powder can react with baking soda (if using) and dull the color. For brightest red, use Dutch-process cocoa or add a pinch of vinegar with your wet ingredients to stabilize the hue.
Share Your Red Velvet Brownies Experience
Okay, friend – now it’s your turn! I want to hear all about your red velvet brownie adventures. Did you add a crazy topping? Maybe you tried them with dark chocolate chips instead? Whatever you did, I’m dying to know!
Leave a comment below and tell me:
- What surprised you most about this recipe?
- Did your family go crazy for them like mine does?
- Got any brilliant twists you invented? (Cream cheese swirl? Peppermint extract? Spill the beans!)
And hey – if you snapped a photo of your gorgeous creation, share it with me! There’s nothing I love more than seeing those vibrant red squares on your kitchen counters. Tag me on Instagram or use #RedVelvetBrownieMagic so I can cheer you on.
Your feedback helps me (and other bakers!) so much. Did they turn out perfectly fudgy? Too sweet? Not red enough? Honest ratings and notes make this recipe better for everyone. Plus, your story might be just the inspiration someone else needs to bake their first batch!

Now go enjoy those brownies – and don’t forget to save one for me in spirit!

Irresistible Red Velvet Brownies: 1 Bowl Fudgy Bliss
- Prep Time: 15 minutes
- Cook Time: 30 minutes
- Total Time: 45 minutes
- Yield: 24 brownies 1x
- Category: Dessert
- Method: Baking
- Cuisine: American
- Diet: Vegetarian
Description
Rich and fudgy red velvet brownies with a hint of cocoa and a vibrant red color.
Ingredients
- 1 cup unsalted butter, melted
- 2 cups granulated sugar
- 4 large eggs
- 1 tsp vanilla extract
- 1/4 cup cocoa powder
- 2 tbsp red food coloring
- 1 1/2 cups all-purpose flour
- 1/2 tsp salt
- 1 cup white chocolate chips
Instructions
- Preheat your oven to 350°F (175°C). Grease a 9×13-inch baking pan.
- In a large bowl, mix melted butter and sugar until combined.
- Add eggs one at a time, then stir in vanilla extract.
- Mix in cocoa powder and red food coloring until smooth.
- Fold in flour and salt until just combined. Avoid overmixing.
- Stir in white chocolate chips.
- Pour batter into the prepared pan and spread evenly.
- Bake for 25-30 minutes or until a toothpick comes out clean.
- Let cool before cutting into squares.
Notes
- Use gel food coloring for a deeper red color.
- Store leftovers in an airtight container for up to 3 days.
- For extra richness, add cream cheese frosting on top.
Nutrition
- Serving Size: 1 brownie
- Calories: 220
- Sugar: 18g
- Sodium: 80mg
- Fat: 12g
- Saturated Fat: 7g
- Unsaturated Fat: 4g
- Trans Fat: 0g
- Carbohydrates: 26g
- Fiber: 1g
- Protein: 3g
- Cholesterol: 55mg
Keywords: red velvet brownies, dessert, easy baking, chocolate