
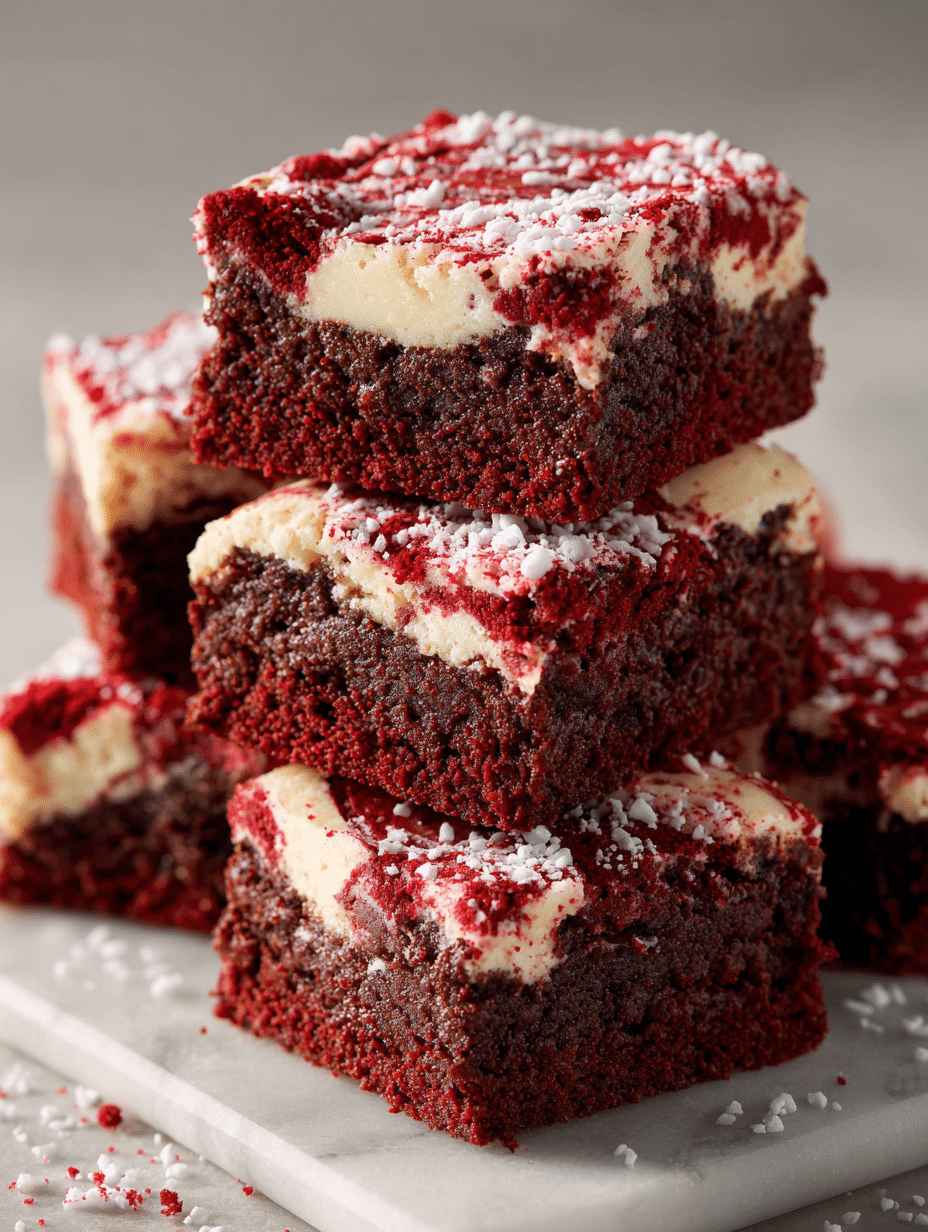
These decadent Red Velvet Brownies Recipe combines the classic flavors of red velvet cake with the fudgy texture of brownies, creating an irresistible dessert that’s perfect for any occasion. With their striking crimson color and rich chocolate undertones, these brownies are sure to become your new favorite treat.
Why You’ll Love This Recipe
This Red Velvet Brownies Recipe delivers everything you could want in a dessert. The brownies have a perfectly fudgy texture that melts in your mouth, while the subtle chocolate flavor pairs beautifully with the tangy hint from the vinegar. The vibrant red color makes them visually stunning for holidays, birthdays, or romantic occasions. Unlike traditional red velvet cake, these brownies are incredibly easy to make with just one bowl and simple pantry ingredients. They’re ready in under an hour and require no special decorating skills to look impressive.
Ingredients You’ll Need
Brownies:
- 1/2 cup unsalted butter, melted
- 1 cup granulated sugar
- 2 large eggs
- 1 teaspoon vanilla extract
- 1 tablespoon red food coloring
- 1/3 cup unsweetened cocoa powder
- 3/4 teaspoon white vinegar
- 1/4 teaspoon salt
- 3/4 cup all-purpose flour
Topping (optional):
- 1/2 cup white chocolate chips or cream cheese frosting
How to Make Red Velvet Brownies Recipe
Step-by-Step Instructions:
Step 1: Prepare Your Pan Preheat your oven to 350°F (175°C). Line an 8×8-inch baking pan with parchment paper, leaving some overhang for easy removal. Lightly grease the parchment with butter or cooking spray.
Step 2: Mix the Wet Ingredients In a large mixing bowl, whisk together the melted butter and granulated sugar until well combined. Add the eggs one at a time, beating well after each addition. Stir in the vanilla extract, red food coloring, and white vinegar until the mixture is smooth and evenly colored.
Step 3: Add the Dry Ingredients Sift the cocoa powder, salt, and flour together in a separate bowl. Gradually fold the dry ingredients into the wet mixture using a spatula, stirring just until combined. Don’t overmix, as this can lead to tough brownies.
Step 4: Bake the Brownies Pour the batter into your prepared pan and spread it evenly. If using white chocolate chips, sprinkle them over the top. Bake for 25-30 minutes, or until a toothpick inserted in the center comes out with a few moist crumbs attached.
Step 5: Cool and Serve Allow the brownies to cool completely in the pan before lifting them out using the parchment paper overhang. Cut into squares and serve. If using cream cheese frosting, wait until completely cool before frosting.
Helpful Tips
Achieving the perfect Red Velvet Brownies Recipe requires attention to a few key details. Use gel food coloring instead of liquid if possible, as it provides more vibrant color without thinning the batter. Don’t skip the white vinegar – it’s essential for the authentic red velvet flavor and helps activate the cocoa powder. For the fudgiest texture, slightly underbake the brownies; they’ll continue cooking in the hot pan after removal from the oven. Room temperature eggs mix more easily and create a smoother batter. If your melted butter is too hot, let it cool slightly before adding to prevent cooking the eggs.
Details
This Red Velvet Brownies Recipe yields 16 small squares or 9 larger portions, making it perfect for sharing. The prep time is just 15 minutes, with a baking time of 25-30 minutes. These brownies are best served at room temperature and have a shelf life of up to one week when properly stored. The recipe can easily be doubled for a 9×13-inch pan, just increase the baking time by 5-10 minutes.
Notes
For the most authentic red velvet flavor, use natural unsweetened cocoa powder rather than Dutch-processed cocoa. The amount of food coloring can be adjusted based on your preference for color intensity. If you don’t have white vinegar, apple cider vinegar works as a substitute. These brownies freeze beautifully for up to three months when wrapped tightly in plastic wrap and stored in an airtight container.
Frequently Asked Questions
Can I make this Red Velvet Brownies Recipe without food coloring? Yes, but the brownies will be brown instead of red. The flavor will remain delicious, but you’ll lose the signature red velvet appearance.
Why are my brownies not red enough? This usually happens when using liquid food coloring instead of gel, or not using enough. Gel food coloring provides more vibrant color without affecting the batter’s consistency.
Can I add nuts or other mix-ins? Absolutely! Chopped walnuts, pecans, or white chocolate chips make excellent additions. Fold them in with the flour mixture.
How do I know when the brownies are done? A toothpick inserted in the center should come out with a few moist crumbs. If it comes out completely clean, they may be overbaked.
Can I make these gluten-free? Yes, substitute the all-purpose flour with a 1:1 gluten-free flour blend designed for baking.
Storage Instructions
Store your Red Velvet Brownies Recipe in an airtight container at room temperature for up to one week. For longer storage, wrap individual brownies in plastic wrap and freeze for up to three months. Thaw frozen brownies at room temperature for about an hour before serving. If you’ve added cream cheese frosting, store the brownies in the refrigerator for up to five days and bring to room temperature before serving for the best texture.
Conclusion
This Red Velvet Brownies Recipe brings together the best of both worlds – the beloved flavors of red velvet and the satisfying texture of fudgy brownies. Whether you’re celebrating a special occasion or simply craving something sweet, these brownies deliver impressive results with minimal effort. The striking appearance and rich flavor make them perfect for potlucks, bake sales, or romantic dinners. With simple ingredients and foolproof instructions, this recipe is sure to become a staple in your dessert repertoire. Try this Red Velvet Brownies Recipe today and discover why it’s quickly becoming a favorite among home bakers everywhere.