You know those days when you need something sweet in a hurry, but turning on the oven feels like too much effort? That’s exactly when these no-bake dessert bars became my kitchen heroes. I first threw them together during a summer heatwave when my kids were begging for cookies but I refused to bake in 90-degree weather. Five pantry staples, one bowl, and zero oven time later – we had the most delicious chocolatey squares that disappeared faster than I could photograph them! Now they’re my secret weapon for last-minute potlucks, midnight cravings, and those “Mom, I need treats for school tomorrow” emergencies.
Why You’ll Love These No-Bake Dessert Bars
Listen, these bars aren’t just delicious – they’re downright magical in how they solve dessert emergencies! Here’s why they’ve become my ride-or-die recipe:
- Five ingredients you probably have right now
- Ready in 15 minutes of active time (hello, last-minute guests!)
- Zero oven means no heating up the kitchen – summer lifesaver
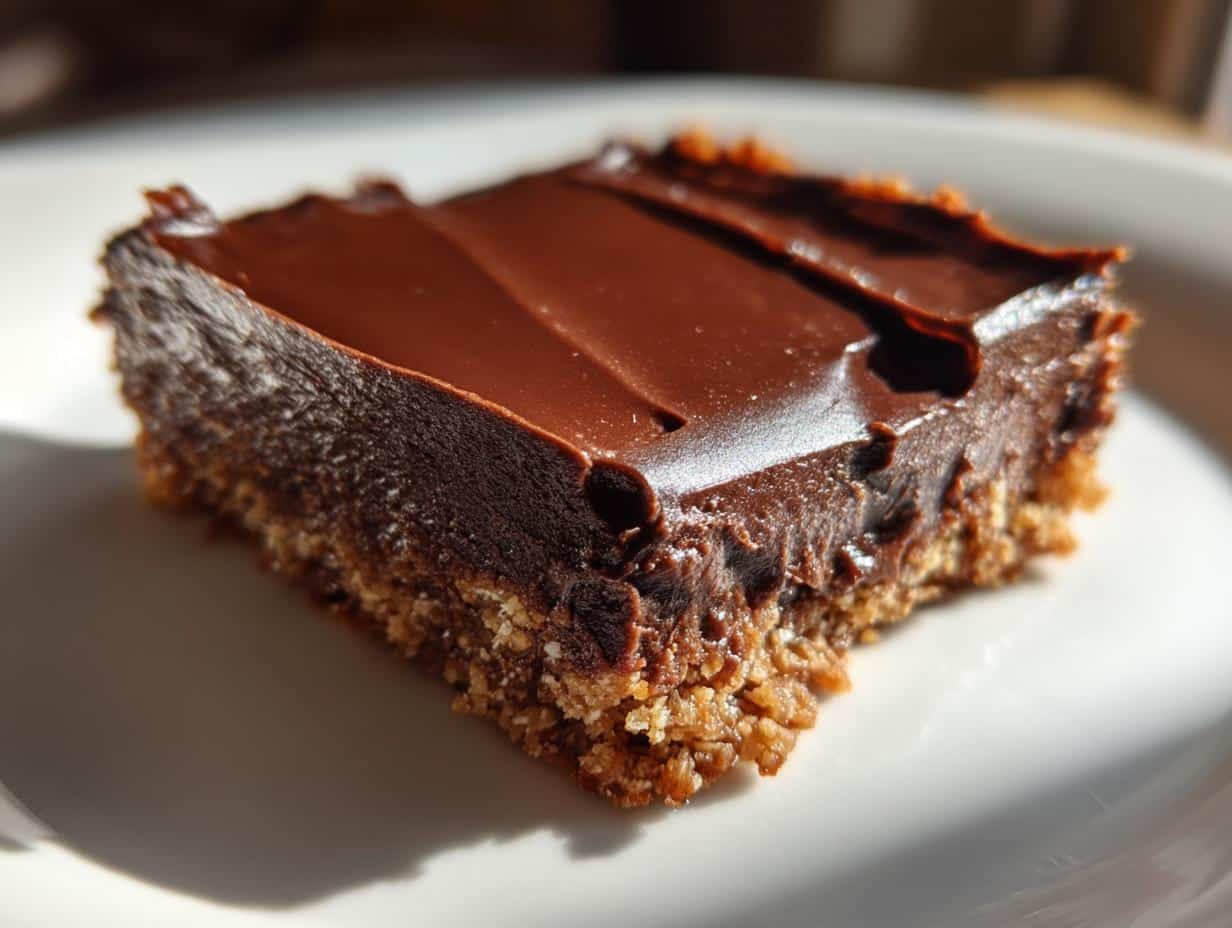
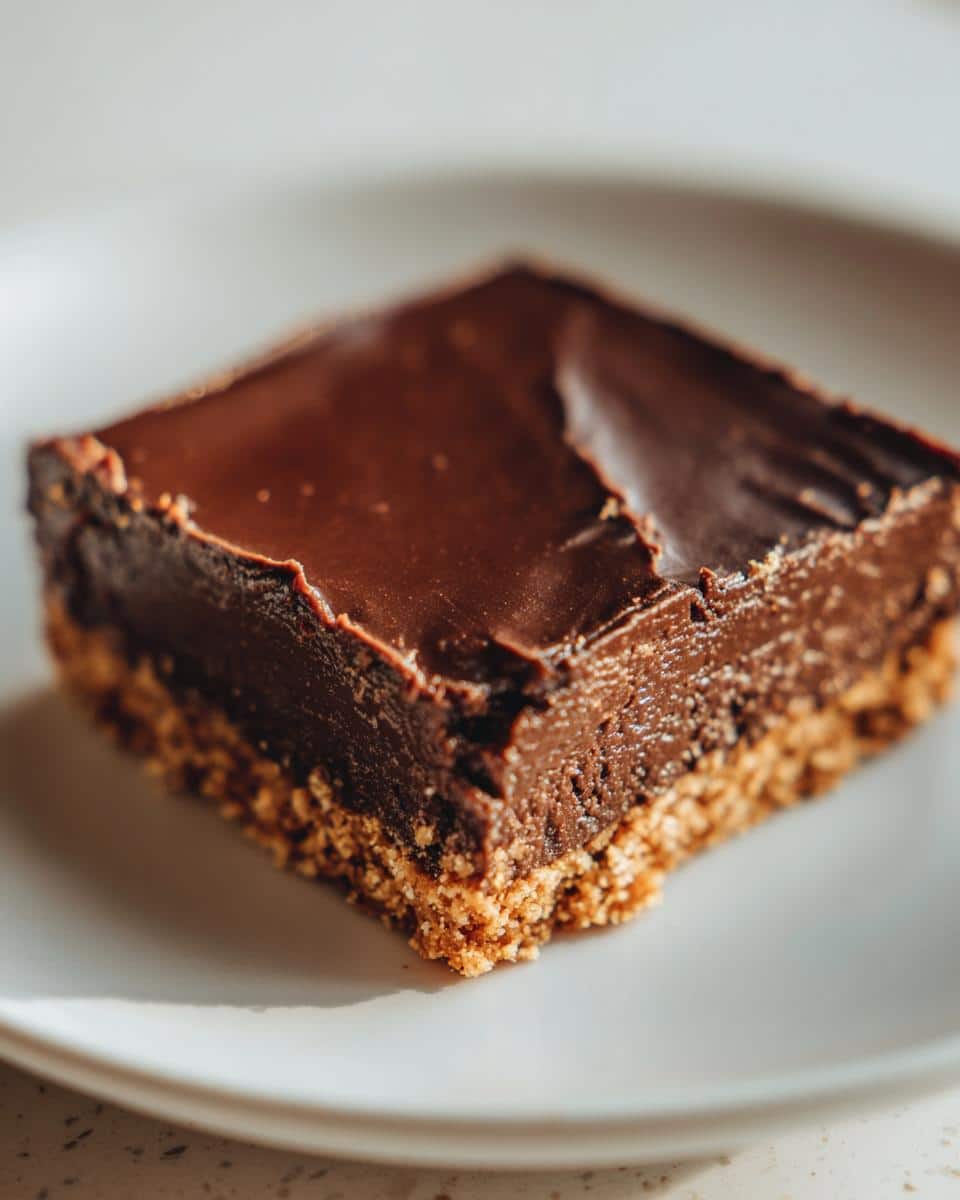
- The graham cracker crust stays perfectly crisp against the fudgy layer
- Kids can help make them (and lick the spoon!)
Trust me, once you try these, you’ll understand why I always keep the ingredients stocked!
Ingredients for No-Bake Dessert Bars
What I love most about these bars? The ingredient list is so simple you can probably recite it from memory after making them once! Here’s what you’ll need:
- 2 cups graham cracker crumbs (that’s about 12 full sheets crushed – I just throw them in a bag and roll with a pin!)
- 1/2 cup melted unsalted butter (melt it gently – you don’t want it piping hot when mixing)
- 1 1/2 cups chocolate chips (I use semi-sweet, but milk chocolate works too for extra sweetness)
- 1 can (14 oz) sweetened condensed milk – don’t grab evaporated milk by mistake!
- 1 tsp pure vanilla extract (the good stuff makes a difference here)
See? Nothing fancy – just pantry staples that come together like magic.
Equipment You’ll Need
Don’t worry – you won’t need any fancy gadgets for these bars! Just grab:
- A medium mixing bowl (I use my favorite blue one – it’s seen many batches!)
- 9×9 inch baking dish (glass or metal both work)
- Parchment paper (trust me, this makes removal SO much easier)
- Small saucepan (for melting that dreamy chocolate mixture)
That’s it! Now let’s get to the fun part – making magic happen.
How to Make No-Bake Dessert Bars
Okay, let’s get to the good stuff! Making these bars is so easy you’ll wonder why you ever turned on your oven for dessert. Follow these simple steps, and you’ll have chocolatey perfection in no time.
Step 1: Prepare the Crust
First things first – grab that mixing bowl and toss in your graham cracker crumbs. Pour in the melted butter (make sure it’s cooled slightly so it doesn’t make the crumbs soggy) and mix until it looks like wet sand. No fancy tools needed here – I just use my hands to get everything evenly combined!
Now line your baking dish with parchment paper (leave some overhang for easy lifting later) and dump in the crumb mixture. This is where I get serious – press it down FIRMLY with your fingers or the back of a measuring cup. A good, packed crust means your bars won’t fall apart when you cut them.
Step 2: Make the Chocolate Layer
Time for the magic! In your small saucepan, combine chocolate chips, sweetened condensed milk, and vanilla. Turn the heat to LOW – I mean it! Chocolate burns so easily, and we want this smooth and glossy, not grainy.
Stir constantly with a wooden spoon until everything melts together into a velvety pool of deliciousness. This usually takes about 3-5 minutes. When it’s fully melted and combined, pour it over your prepared crust and spread evenly with a spatula. The smell alone is worth making these!
Step 3: Chill and Serve
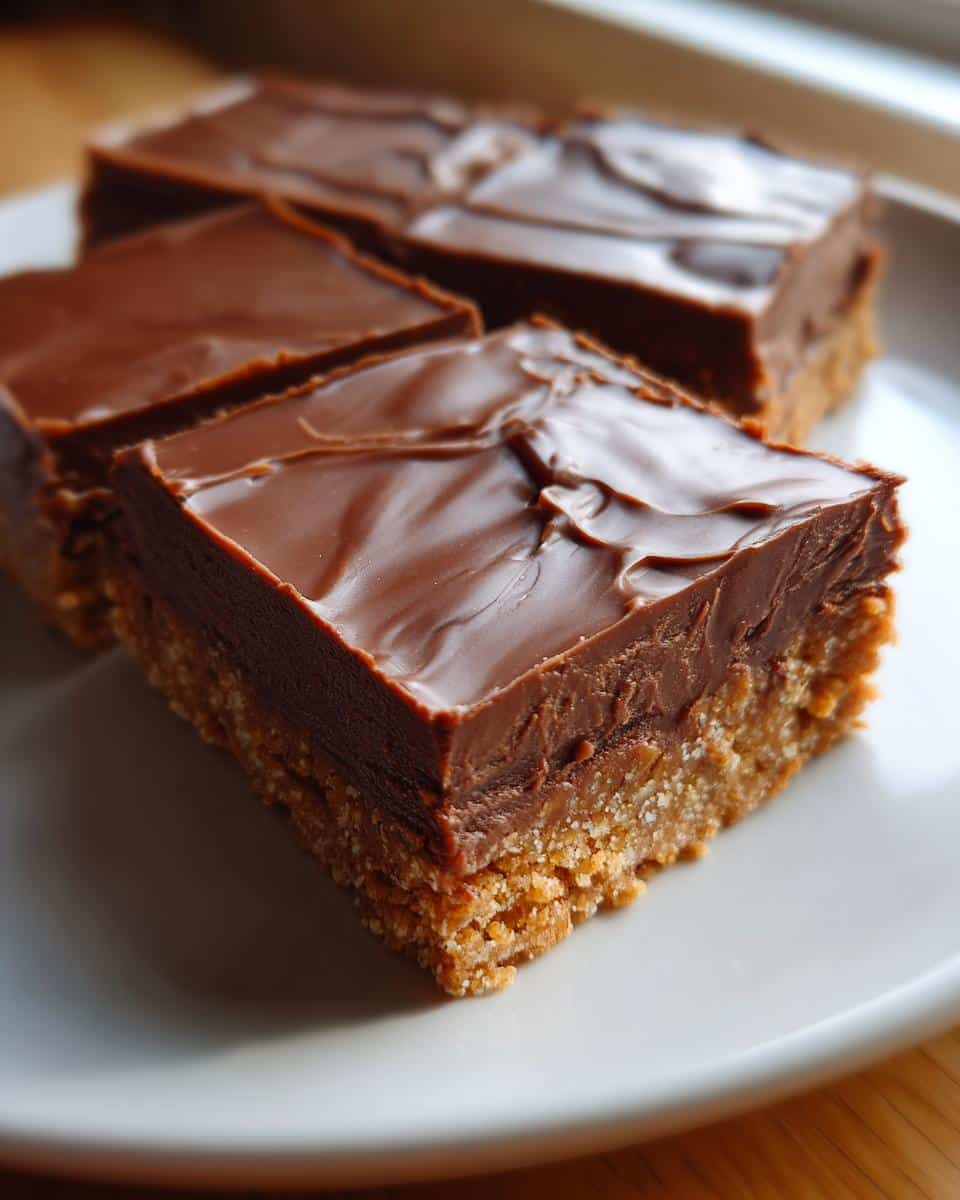
Now comes the hard part – waiting! Pop those beauties in the fridge for at least 2 hours (I know, torture!). The longer they chill, the cleaner they’ll cut. When you’re ready to serve, use the parchment paper to lift the whole slab out onto a cutting board.
Pro tip: Run a sharp knife under hot water and dry it before each cut – you’ll get picture-perfect squares every time. Store any leftovers (ha!) in the fridge, though they never last long in my house!
Tips for Perfect No-Bake Dessert Bars
After making these bars more times than I can count, I’ve picked up some tricks that make them foolproof:
- Parchment paper is non-negotiable – it’s the only way to get clean slices without losing half your crust!
- Let the bars sit at room temperature for 5 minutes before cutting – the chocolate softens just enough for smooth cuts
- Store in an airtight container between layers of wax paper so they don’t stick together
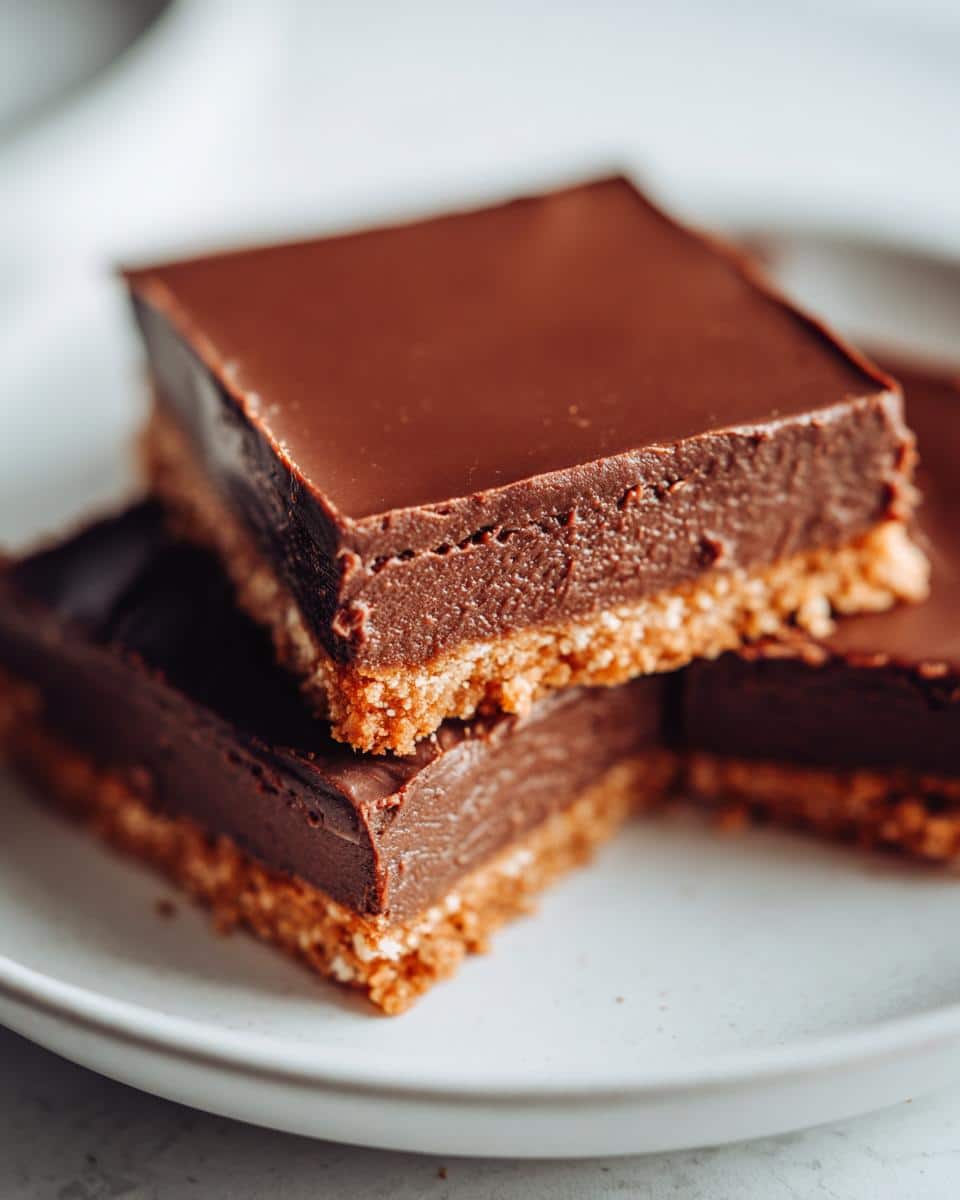
- For gift-giving, cut them small – these rich bars go a long way!
Oh, and hide a few in the back of the fridge – they’re even better the next day!
Variations for No-Bake Dessert Bars
The beauty of these bars? They’re like a blank canvas for your dessert dreams! My family loves experimenting with these easy twists:
- Swap semi-sweet chips for white chocolate or butterscotch chips
- Stir 1/2 cup peanut butter into the melted chocolate layer
- Mix chopped nuts or toasted coconut into the crust
- Add a sprinkle of sea salt on top for that sweet-salty kick
Once you master the basic recipe, the possibilities are endless – have fun making it your own!
Serving Suggestions
Oh, these bars shine all on their own, but if you want to get fancy? Warm them slightly and top with vanilla ice cream for an epic sundae, or serve alongside fresh berries and coffee for a perfect afternoon pick-me-up. My kids love them crumbled over yogurt for breakfast (don’t tell anyone I said that was okay!).
Storing No-Bake Dessert Bars
These babies keep beautifully in the fridge! Just pop them in an airtight container (I swear by my glass snapware) with parchment between layers. No reheating needed – they’re perfect cold straight from the fridge. Though good luck keeping them around more than a day or two!
Nutritional Information
Now, I’m no nutritionist, but I know you’re curious about what’s in these tempting little squares! Keep in mind these are rough estimates – your exact numbers will depend on the specific ingredients you use (like that extra handful of chocolate chips I always “accidentally” add).
Each rich, fudgy bar gives you that perfect balance of sweetness and satisfaction. The graham crackers add a nice crunch while keeping things simple, and the chocolate layer? Well, that’s where the magic happens. Just remember – treats like these are meant to be enjoyed in moderation (says the woman who ate three while writing this!).
For those tracking, values will vary based on your brand of condensed milk, chocolate, and whether you use salted or unsalted butter. My best advice? Savor every bite guilt-free – life’s too short not to enjoy dessert!
FAQ About No-Bake Dessert Bars
I get asked these questions ALL the time about these magical no-bake bars – here’s everything you need to know:
Can I freeze these bars? Absolutely! They freeze beautifully for up to 3 months. Just wrap individual squares tightly in plastic wrap before freezing. Thaw in the fridge overnight when those sudden chocolate cravings hit.
What can I use instead of sweetened condensed milk? Honestly, this ingredient is pretty essential for that perfect fudgy texture. But in a pinch, you can try homemade condensed milk (though it won’t be quite as thick) or even thick coconut milk for a dairy-free version.
Why did my chocolate layer turn grainy? Oh no! This usually happens if the heat was too high when melting. Next time, keep it low and slow – patience makes perfect chocolate.
Can I use store-bought graham cracker crumbs? Sure can! Though I personally love crushing my own because I can control the texture – some pre-crumbled brands can be too fine.
Final Thoughts
There you have it – my go-to dessert that never fails to impress! Give these bars a try and let me know how they turn out. I bet they’ll become your new favorite quick treat too! You can find more delicious recipes on my Pinterest page.
Print
5-Ingredient No-Bake Dessert Bars – Quick & Irresistible!
- Prep Time: 15 mins
- Cook Time: 5 mins
- Total Time: 2 hours 20 mins
- Yield: 12 bars 1x
- Category: Dessert
- Method: No-Bake
- Cuisine: American
- Diet: Vegetarian
Description
Easy no-bake dessert bars with simple ingredients.
Ingredients
- 2 cups graham cracker crumbs
- 1/2 cup melted butter
- 1 1/2 cups chocolate chips
- 1 can (14 oz) sweetened condensed milk
- 1 tsp vanilla extract
Instructions
- Mix graham cracker crumbs and melted butter in a bowl.
- Press the mixture into a lined baking dish.
- In a saucepan, melt chocolate chips with sweetened condensed milk and vanilla over low heat.
- Pour the chocolate mixture over the crust and spread evenly.
- Refrigerate for at least 2 hours before cutting into bars.
Notes
- Use parchment paper for easy removal.
- Store in the refrigerator for up to a week.
Nutrition
- Serving Size: 1 bar
- Calories: 220
- Sugar: 18g
- Sodium: 120mg
- Fat: 12g
- Saturated Fat: 7g
- Unsaturated Fat: 4g
- Trans Fat: 0g
- Carbohydrates: 25g
- Fiber: 1g
- Protein: 3g
- Cholesterol: 20mg
Keywords: no-bake dessert bars, easy dessert, chocolate bars